

EagerLED LED dJ screen
Plan an LED DJ screen around the audience, venue and visual playback system. Compare booth displays, stage backdrops and touring panels, then confirm the selected model, mounting design and controller with the production team.
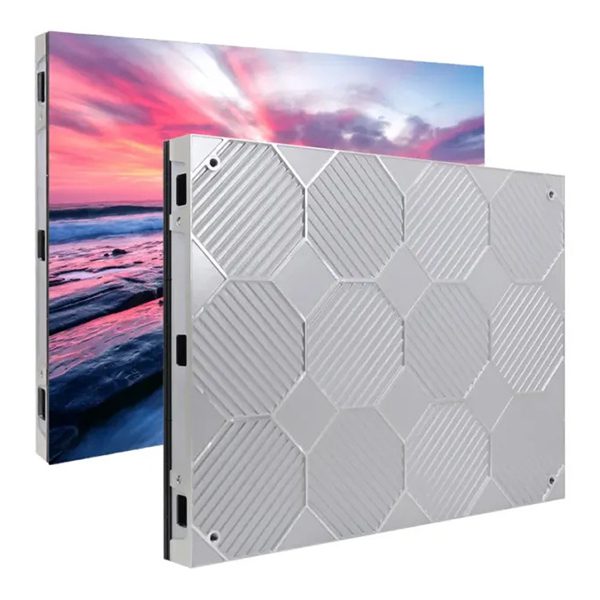
EA640F2 Indoor LED Display
- crystal-clear HD resolution with exceptional brightness
- Ultra-thin and space-saving
- 4:3 Ratio for Versatile Media Compatibility
- 140° viewing angle
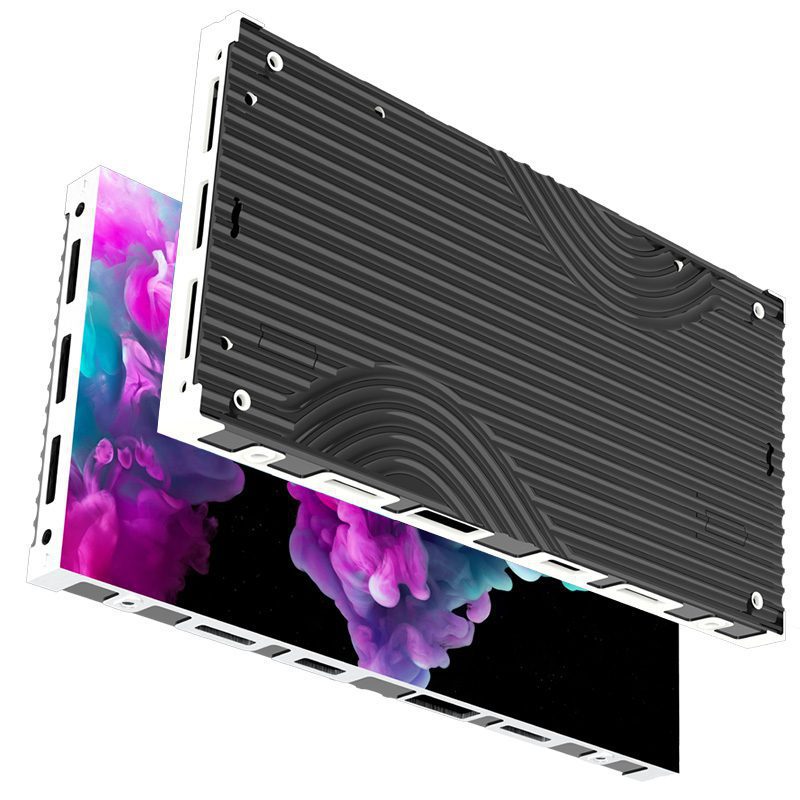
EA250WH3 LED digital screen
- High refresh rate ≥3840Hz
- Pixel Pitch P1.25, P1.56, P1.95 mm
- Supports creative layouts like 90° corners and columns
- Only 33mm thick, lightweight and space-saving
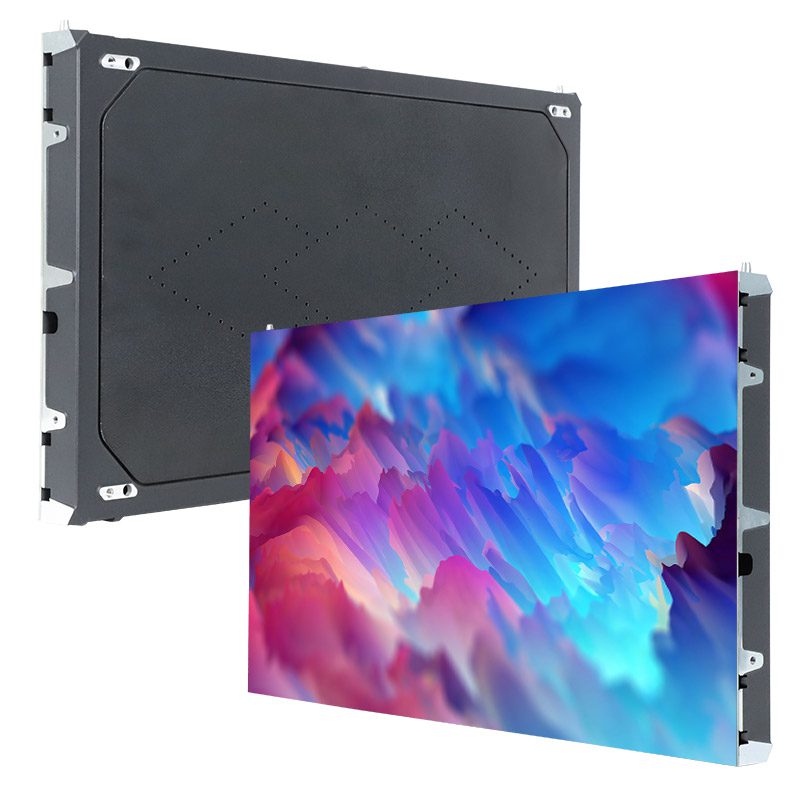
EA600COB2 Cob LED Display
- 2K/4K/8K resolution support
- 38mm slim, 5.5kg lightweight
- Bright,high-contrast display
- COB tech for sharp and efficient visuals
- Strong protection, long lifespan
Global projects of EagerLED LED DJ screen
Spanish customers successfully set up a DJ stage using the EA500C3
This supplied video shows an EA500C3 LED DJ screen installation in Spain. Use the footage to inspect the display arrangement; request the project specification before treating it as a reference for your own stage.
South Sudan Customers set up an LED DJ booth using Eager screens at their bar.
This supplied footage shows an LED DJ screen project in South Sudan. Screen configuration, environmental protection and support requirements must be confirmed separately for each venue.
Discuss Your DJ Screen Project
EagerLED LED dj screen solution
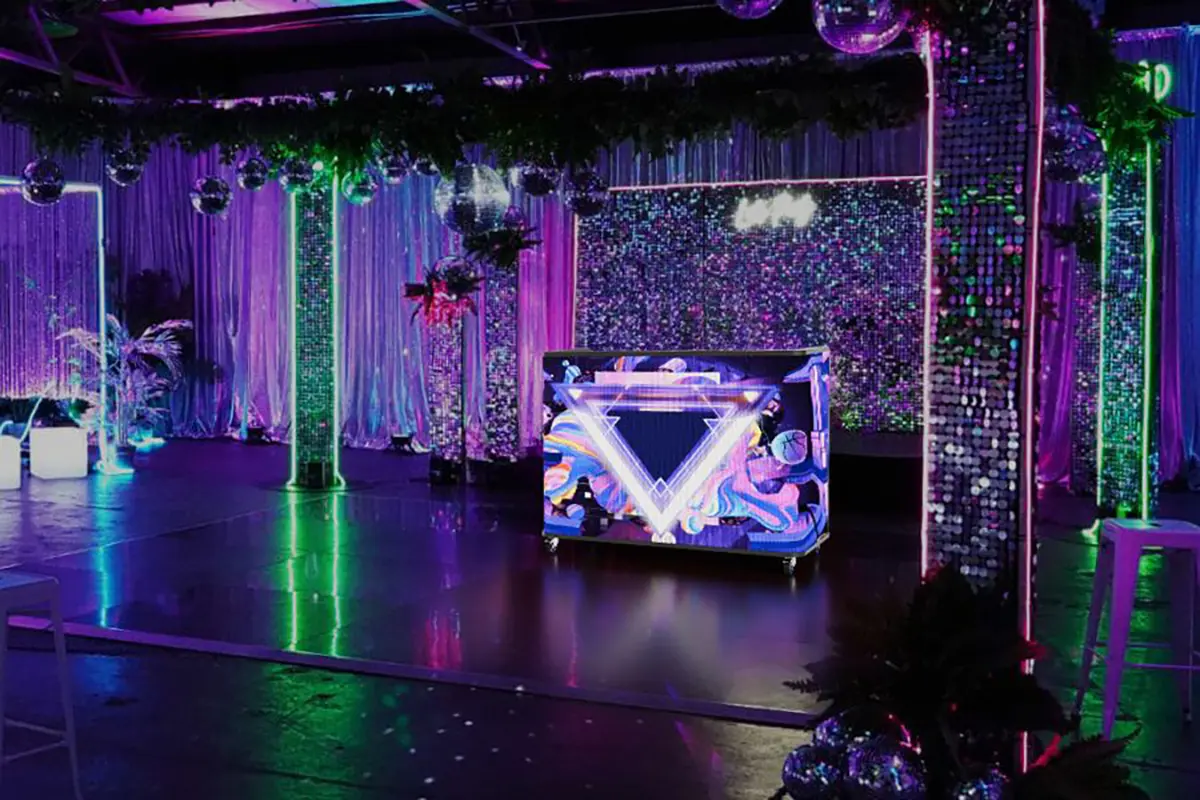
Small & Medium DJ Stages
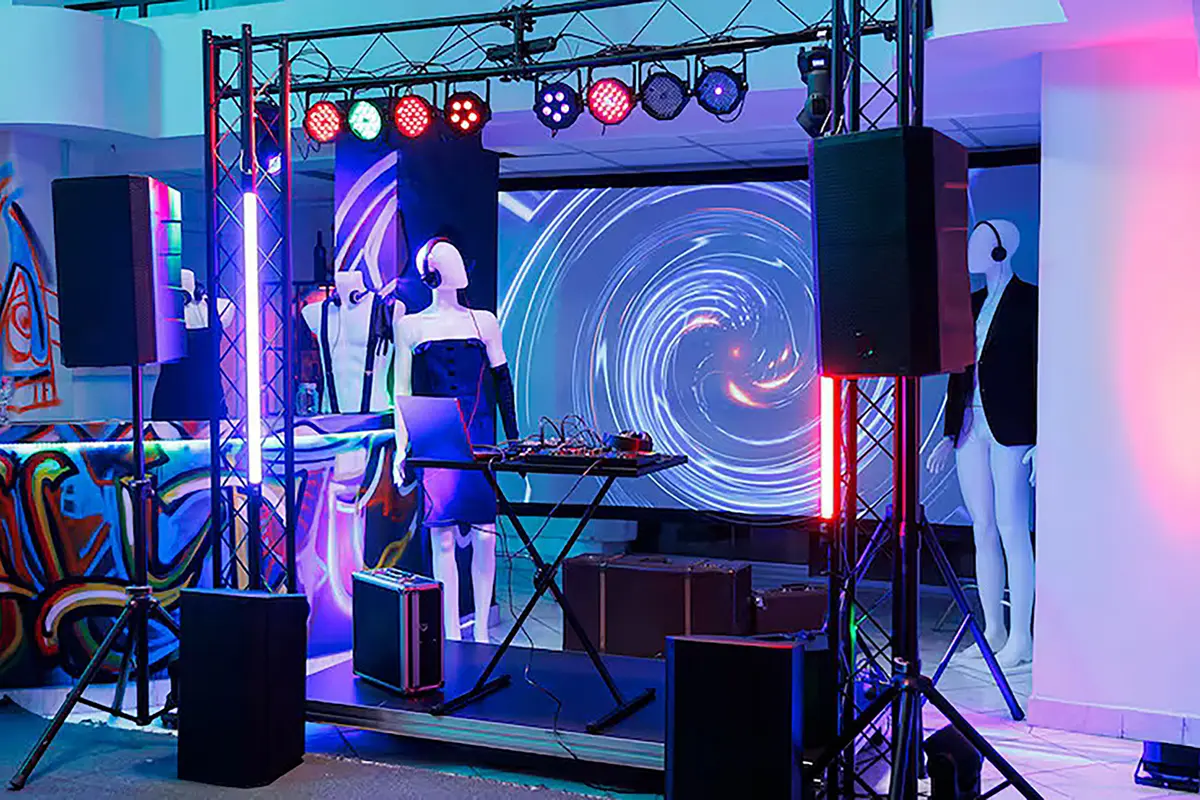
For a club booth or compact stage, measure the available opening and nearest viewing position. Choose pixel pitch using actual text and graphics on a sample screen, and check that the screen does not obstruct sightlines or access routes.
Large-Scale DJ Performances
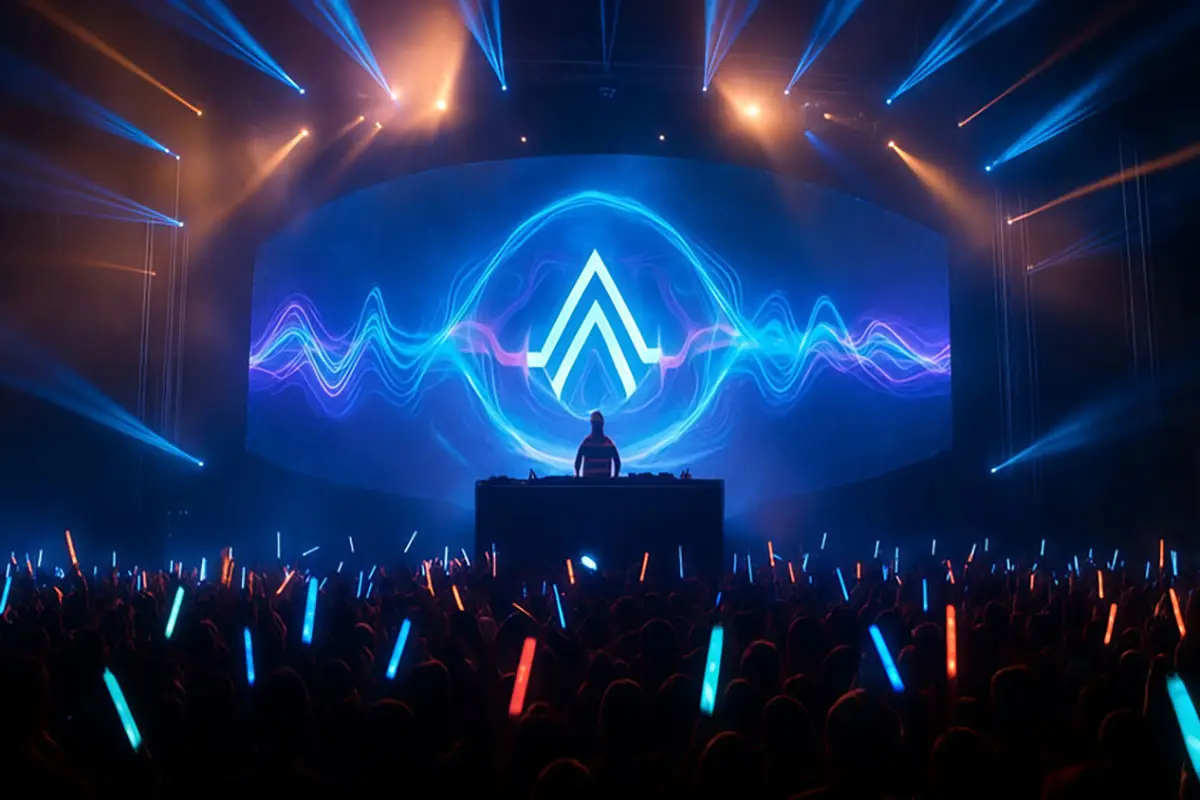
For larger stages, specify canvas resolution, controller capacity, service access and approved support loads. Outdoor use requires suitable weather ratings plus an engineered wind and operating plan; an IP rating does not establish wind resistance.
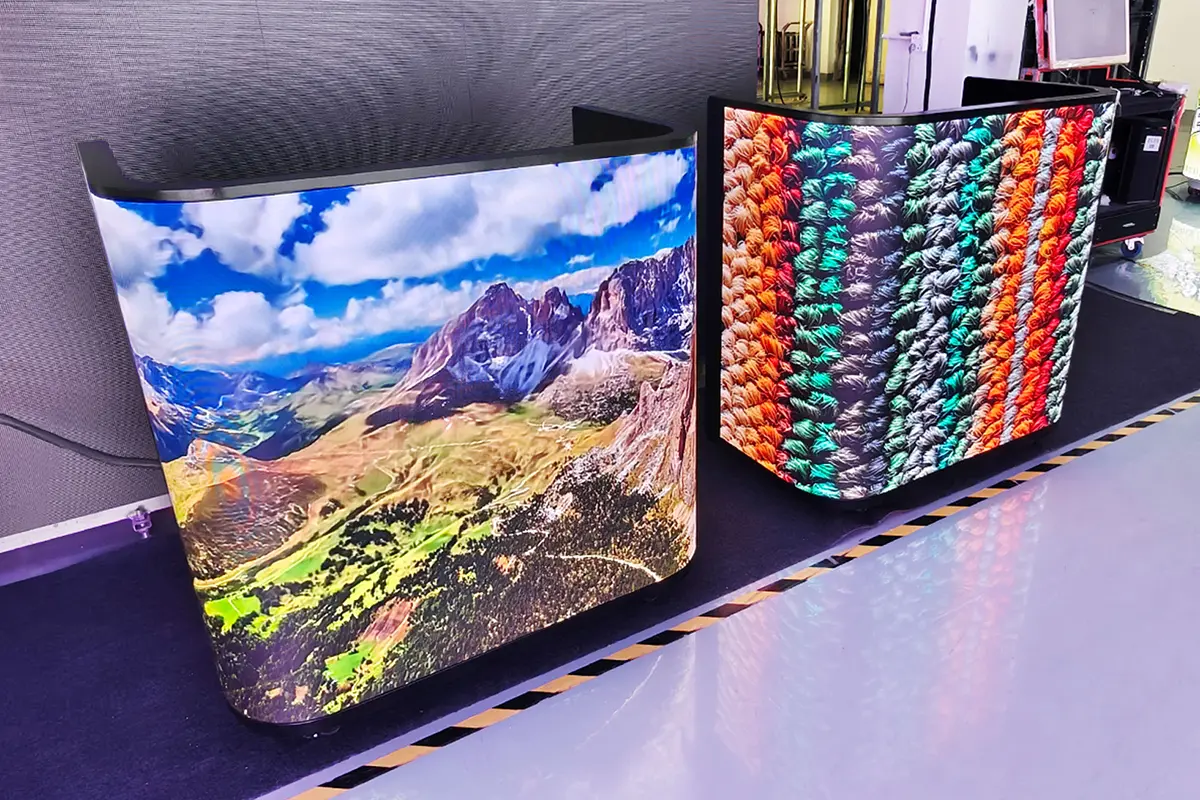
Curved DJ Booths
Curved layouts require cabinets or flexible modules explicitly designed for the requested radius. Rigid cabinets must not be bent. Confirm concave or convex angle limits, compatible connectors and support drawings for the exact model.
Mobile DJ Setups
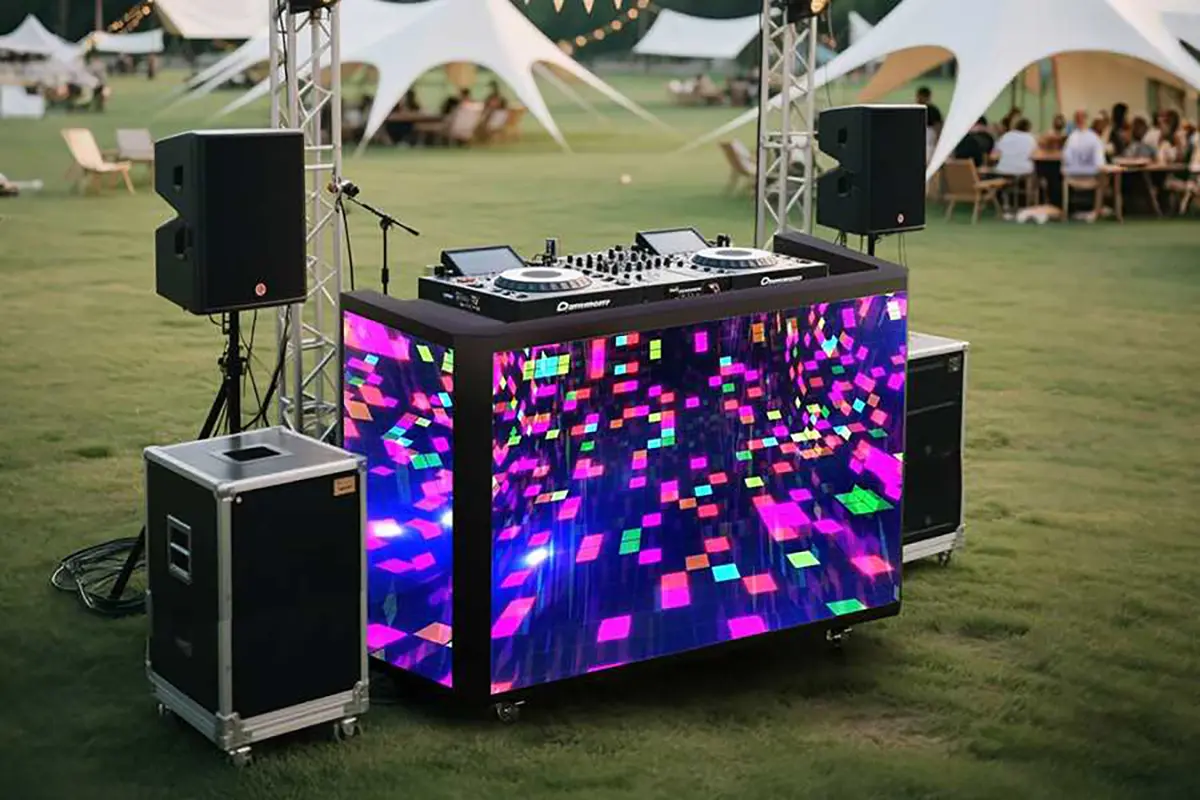
For mobile work, compare cabinet weight, flight cases, lifting requirements and the approved stacking system. Plan crew size and setup time from the complete assembly, not from an individual panel demonstration.
Plan Your LED DJ Screen
LED DJ Screen Product Options
Ultimate LED DJ Screen Guide: How to Choose, Set Up & Use Yours Like a Pro
This guide explains how to select a DJ display, connect the visual signal chain and prepare a safe rehearsal. It covers booth screens and stage walls without assuming that one pitch or panel suits every event.
catalogue
- 1.Do You Actually Need an LED DJ Screen?
- 2. What Should Your DJ Screen Specification Include?
- 3.How to Choose the Right DJ LED Screen for Your Performance Style
- 4. Compare Five DJ Display Formats
- 5.How to Sync Visuals with Your Music
- 6.Step-by-Step Setup: Mounting Your DJ LED Screen
- 7.Transport, Storage & Maintenance for Long-Lasting DJ LED Screens
- 8.FAQs
- 9.conclusion
1.Do You Actually Need an LED DJ Screen?
An LED wall can show artist graphics, live visuals or event information. It is useful when the audience needs a larger visual canvas than a conventional monitor can provide, but it also adds rigging, power, content and operating responsibilities.
Here’s who typically needs one, and why:
Before selecting hardware, define what the screen must show and who will operate it. A mobile DJ may need fast transport and reusable content; a permanent venue may prioritize service access and integration with its existing control system. Trial the format before expanding the installation.
2. What Should Your DJ Screen Specification Include?
Request a complete system specification rather than selecting panels alone. Record the screen dimensions, native pixel matrix, indoor or outdoor use, support method, controller, compatible spare parts and operator responsibilities.
| Application | Specification to confirm | Acceptance check |
|---|---|---|
| Mobile DJ booth | Handling, support, local playback and cases | Transport and setup rehearsal with the intended crew |
| Touring backdrop | Cabinet mapping, spares and rated rigging | Full-canvas video test and documented recovery plan |
| Permanent venue | Service access, ventilation and system integration | Operator handover and maintenance access check |
Use the pixel pitch calculator to explore a preliminary canvas, then have the supplier confirm an achievable cabinet layout. Include transport, installation, maintenance and content workflow in the decision.
3.How to Choose the Right DJ LED Screen for Your Performance Style
Compare the whole visual system. Finer pitch can provide more pixels within the same area, but the useful result also depends on viewing distance, content, camera setup and source resolution.
How to pick the right size
Measure stage width, available height, audience sightlines and clear access routes. A larger wall is not automatically more readable. Plan content at the final native resolution and check logos, text and visual framing using the screen size guide.
Pixel pitch: simpler than you think
Pixel pitch (the distance between LED clusters, measured in millimeters) determines sharpness. Common options:
| Pitch comparison | What changes | How to validate |
|---|---|---|
| Finer pitch | More native pixels in a given area; different controller load | Test small text and cameras at the intended distance |
| Coarser pitch | Fewer pixels in the same area | Test whether the intended graphics remain readable |
| Any pitch | Content and optics still affect the result | Use the actual canvas, brightness, camera and show files |
Test the intended content at the nearest audience position and on the event cameras. Do not assume that a particular pitch eliminates moire or that a high refresh-rate specification alone guarantees camera compatibility.
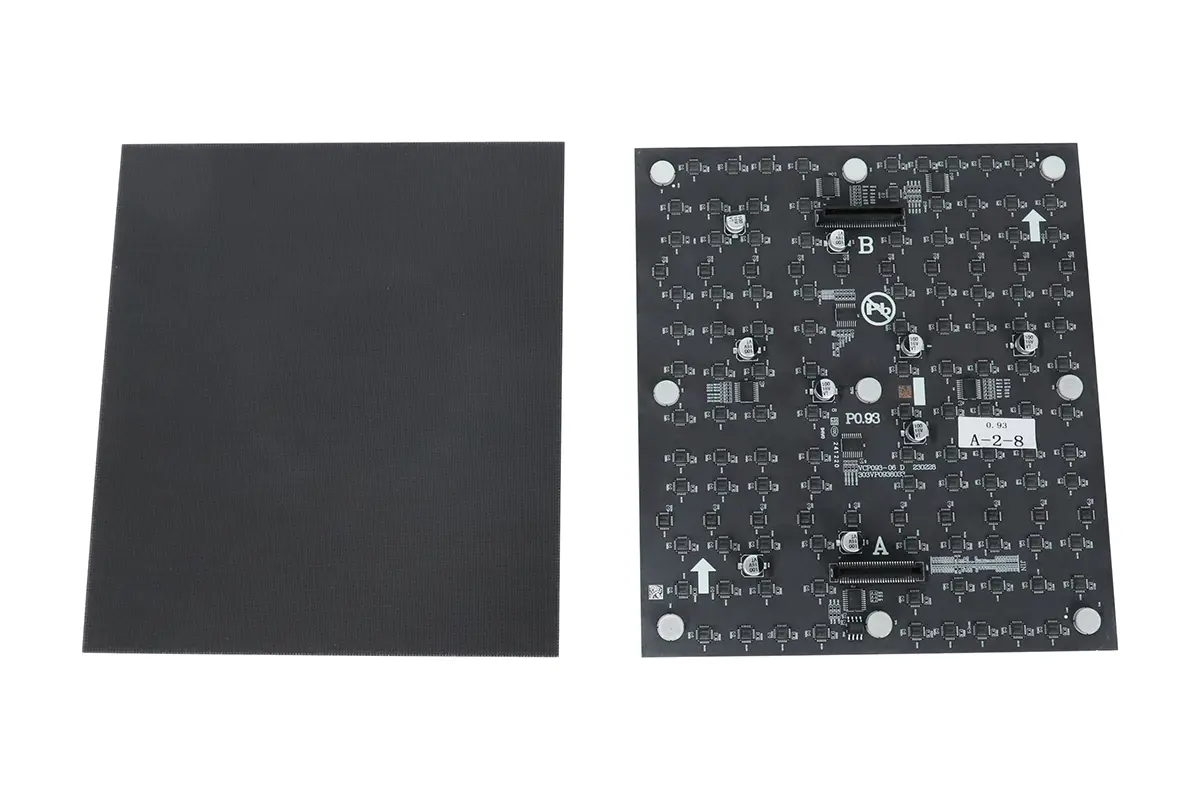
4. Compare Five DJ Display Formats
The formats below solve different layout and handling needs. Confirm availability and model-specific specifications before selecting a configuration.
Foldable Poster-Style LED Screen
A poster display can carry artist branding or event information beside a booth. Check stability, cable routing, content input and audience visibility. Compare the LED poster range for suitable formats.
Modular P3.91 Rental LED Wall
Rental cabinets support reusable stage layouts when the model includes suitable locks and handling features. Specify the complete hanging or stacking system, transport protection and qualified crew. See rental LED screens.
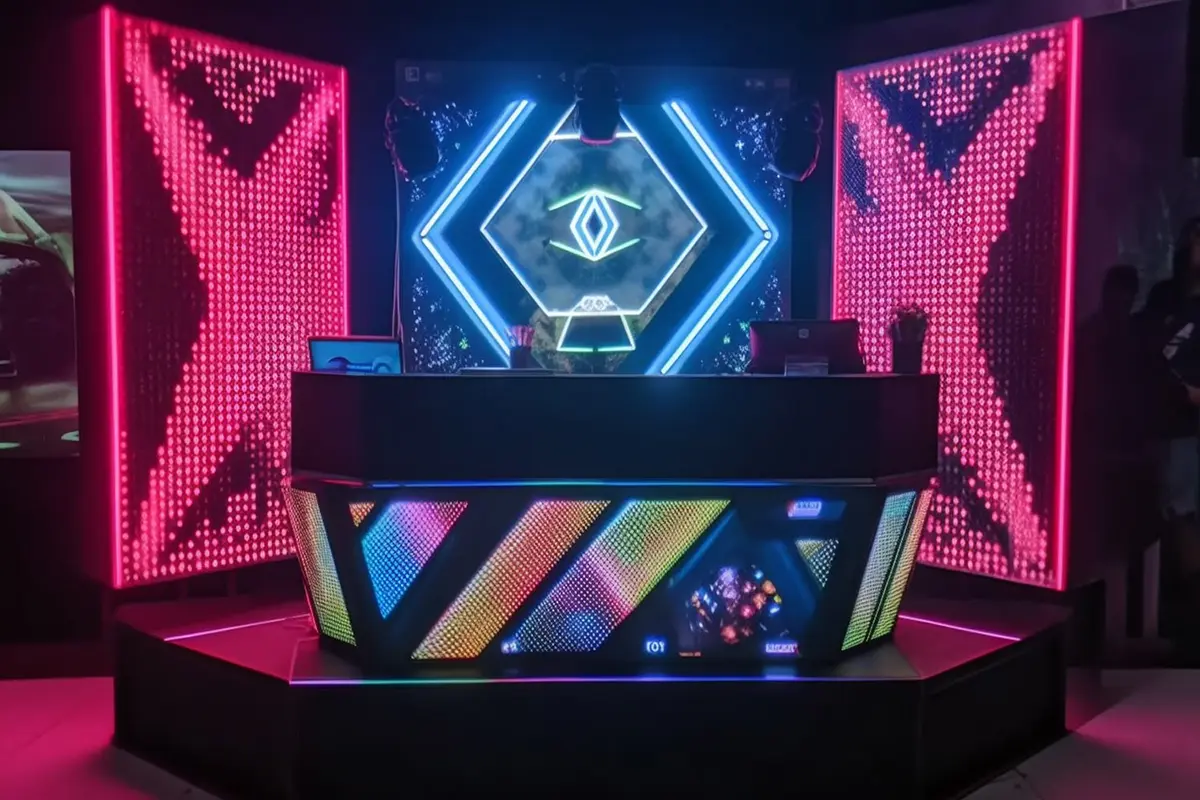
Curved or Flexible LED DJ booth
A curved booth or backdrop needs a manufacturer-approved curve system. Check radius, module alignment, service access and content mapping before approving the design.
All-in-One COB/GOB Indoor Video Wall
COB means Chip on Board; GOB commonly means Glue on Board and describes a protective encapsulation approach. They are not interchangeable display formats. Compare the actual surface, repair method and optical performance; neither label guarantees freedom from moire or visible pixels.
Outdoor-Grade Stage Backdrop Screen
An outdoor DJ screen needs ratings appropriate to exposed faces, connectors and the operating environment. Weather protection does not replace a wind assessment, approved support structure or a shutdown plan.
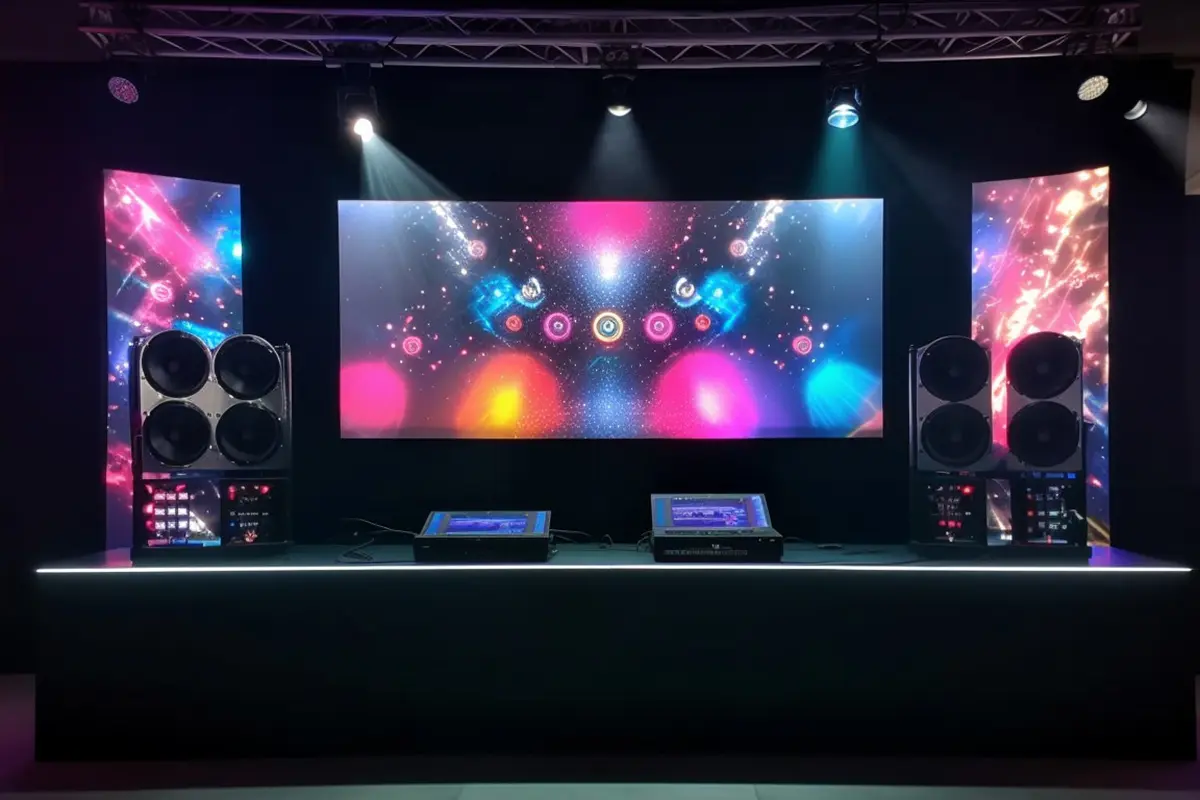
5.How to Sync Visuals with Your Music
Separate video delivery from show synchronization. First establish a stable image on the complete wall, then configure audio-reactive visuals, cues or timeline control for the performance.
The full setup has two parts:
The playback system creates the visual output; the LED processor maps it to the cabinet canvas. Measure end-to-end delay where timing matters instead of assuming the chain has zero latency.
Essential Hardware Chain
A typical signal path is playback computer or media server, video processor or sending device, receiving cards and LED modules. Confirm accepted input resolution and frame rate, total pixel capacity, output-port allocation and the exact compatible receiving-card configuration.
Use the controller manufacturer’s specified cabling and distance limits. LED data connectors may resemble network Ethernet ports but must not be connected through a general network switch unless the system documentation explicitly supports it. Back up the verified mapping and receiving-card configuration.
Sync the Content to Your Music
| Method | Purpose | Checks |
|---|---|---|
| Audio-reactive | Generate visuals from an audio input | Verify input routing, sensitivity and fallback content |
| MIDI or OSC cues | Trigger compatible visual scenes or controls | Confirm supported messages, mapping and cue ownership |
| Timecode | Follow a shared show timeline | Confirm supported timecode format, frame rate and dropout handling |
| Ableton Link | Share tempo and beat phase between compatible applications | Do not treat beat synchronization as frame-accurate video timecode |
6.Step-by-Step Setup: Mounting Your DJ LED Screen
Have qualified personnel prepare the support and electrical plan before assembly. The outline below is a production checklist, not a replacement for cabinet manuals, local rules or an engineered rigging design.
What You’ll Need
Confirm the selected panels and receiving cards, compatible processor, approved signal and power cables, rated support system, protected distribution, transport cases and model-matched spares. Record equipment versions and retain the supplier’s drawings and configuration files.
Step-by-Step Mounting Guide
Assemble the Frame First
Use an approved hanging or stacking design with verified loads, bracing and ground or attachment conditions. Keep emergency routes clear. Do not improvise supports or assume quick-lock cabinets are self-supporting.
Mount Panels Securely
Trained crew should inspect and assemble the cabinets according to the manufacturer’s instructions and the approved structure. Maintain required exclusion zones and lifting arrangements. A mat is not a substitute for a rated stacking base.
Connect Power & Data
A qualified electrician should confirm supply capacity, protection, earthing and permitted cable loads. Follow the manufacturer’s connection sequence and maximum chain limits; protect cables from public access and isolate power before servicing.
Test Before Showtime
Load the native-resolution test canvas, verify cabinet order, then rehearse show content at the actual venue brightness. Check camera banding, moire, cue timing and audio alignment. Test a safe fallback image and recovery from a lost source before audience admission.
7.Transport, Storage & Maintenance for Long-Lasting DJ LED Screens
Transport and maintenance planning reduce avoidable faults, but service life depends on the product and operating conditions. Keep a record of inspections and failures rather than relying on a promised lifespan.
Transport: Protect Every Component
Use the specified flight cases and panel protection. Secure the load, label cabinet positions where needed and inspect connectors and locks after transport. Follow the handling weight limits and lifting instructions for the selected model.
Storage: Keep It Dry, Clean & Upright
Store panels within the manufacturer’s temperature and humidity limits using the specified orientation and protection. Allow equipment to acclimatize when conditions change, and follow the prescribed procedure if condensation or moisture is suspected.
Routine maintenance: use the model-specific cleaning and inspection instructions. Keep liquids away from energized equipment; do not assume alcohol or spray cleaning is safe for every module surface.
| Task | Safe method | Record |
|---|---|---|
| Surface cleaning | Power down as instructed; use only the approved materials and method | Cleaning date and any surface damage |
| Locks and supports | Trained inspection following the manufacturer and rigging instructions | Defects and removal from service where required |
| Power and data connectors | Isolate before inspection; replace damaged parts with compatible components | Cable and cabinet identifiers |
| Image check | Run test patterns and show content at the planned settings | Pixel faults, mapping, brightness and camera observations |
8.FAQs
9.conclusion
Start with the venue and content brief, validate the cabinet layout and signal chain, and rehearse the complete system before the event. For installation planning, use the installation planning guide and confirm the final design with qualified production specialists.