

2026-10-16T02:30:23+00:00October 16, 2026|
2026-10-16T02:28:57+00:00October 16, 2026|
2026-10-09T02:41:38+00:00October 9, 2026|Tags: 3D Billboard, LED Display Knowledge, Naked-Eye 3D|
A touring stage LED screen should be specified around the show layout, camera plan and repeatable setup procedure. Start with the image areas the production needs, then agree the cabinet inventory, pixel maps, signal routes and recovery tests that support them. A screen package is ready for a tour when the crew can rebuild and operate the approved configuration at the next venue.
This guide is for an event production company preparing a touring backdrop specification before committing to equipment. It focuses on information to exchange with the supplier and production team, including content dimensions, camera testing, changeovers and backups. It does not prescribe rigging loads or electrical design. Those require the exact equipment documentation and approval by qualified people for each venue.
1. Define the touring stage LED screen layout
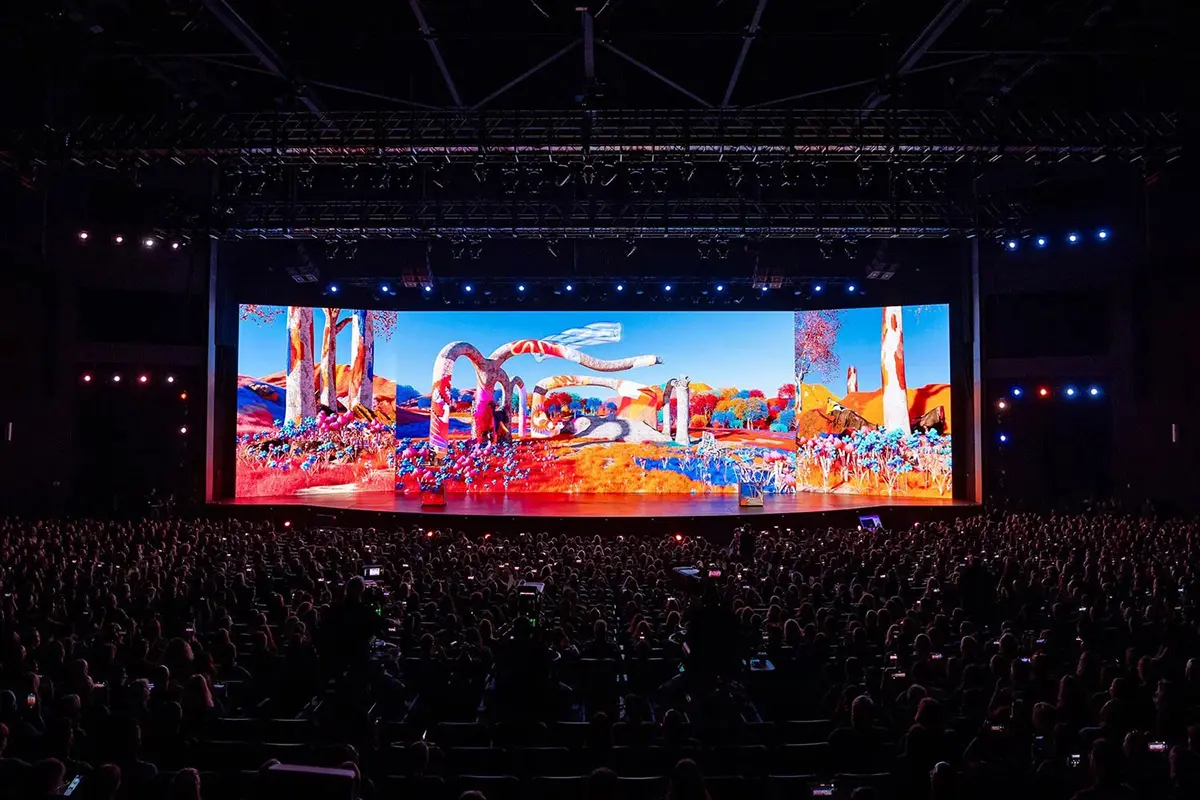
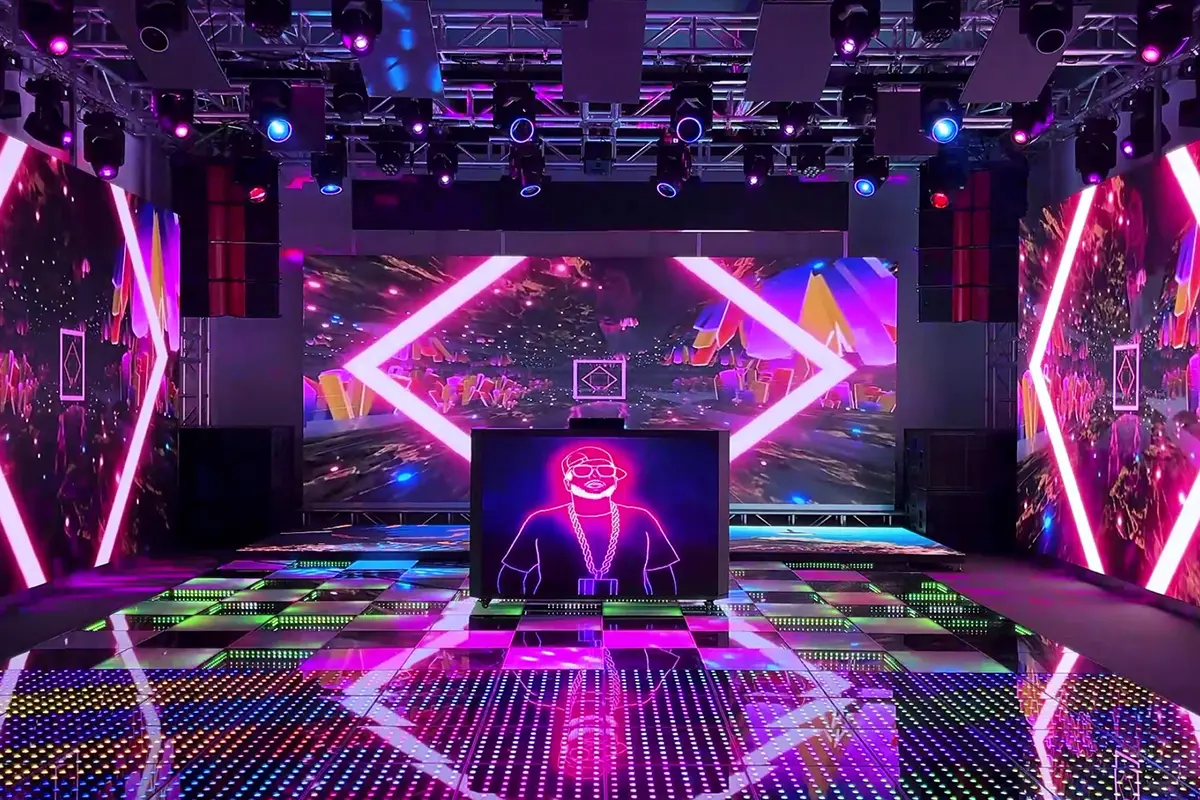
Draw the active image rectangles on the stage plan before asking for a cabinet count. Identify the central backdrop, any separate side screens and the position of performers. Add camera locations, the closest audience position and the offstage access route. A creative rendering explains the intended appearance, but the production drawing must show dimensions and physical obstructions.
Assign a job to each surface. A scenic backdrop might carry abstract motion behind the performers, while side screens carry a live camera feed for distant seats. Their content and viewing needs can differ. Write those differences into the brief instead of assuming that every surface needs the same image detail or shares the same video source.
For a tour with several room sizes, define an approved base layout and any planned reduced layouts. Name each version and record which cabinets it uses. This gives the content team and supplier a finite set of configurations to prepare. Avoid asking the crew to invent a new crop or signal map during a short load-in.
Keep mechanical approval separate from the creative drawing. Confirm the intended hanging or ground-support arrangement, access and environmental conditions with the responsible specialists. A touring stage LED screen specification should identify who approves the system at each venue. It should not treat a cabinet connection or an indoor product photograph as evidence of an approved support design.
2. Translate the layout into a repeatable inventory
Ask the supplier for a cabinet schedule against each approved layout. It should identify model, dimensions, orientation, active quantity and spare quantity. Include any dedicated corners, transition pieces or special mounting accessories. A total area alone does not tell the warehouse team what to pack or the crew how to assemble the wall.
Standardizing a touring stage LED screen inventory can simplify substitutions, but the supplier must confirm compatibility. Cabinets that look similar may have different receiving electronics, calibration data, connectors or mechanical details. Request the relevant part references and identify which components the crew may exchange under the agreed service procedure.
Evaluate pitch against the actual task. Text, sponsor artwork and close camera shots may expose limitations that are less obvious in broad scenic motion. Review the expected audience distances and content with the supplier, then test a representative setup. The pixel pitch planning guide helps frame the initial discussion; a calculation does not replace a camera rehearsal.
| Inventory group | Specify before dispatch | Check during preparation |
|---|---|---|
| Active cabinets | Model, quantity, orientation and layout position | Physical condition and consistency across the assembled image |
| Spare components | Part references and supplier-confirmed compatibility | Replacement procedure and access to the relevant tools |
| Control package | Processors, receiving system and approved configurations | Native pixel maps and recovery from a saved configuration |
| Cables and distribution | Connection schedule, lengths, labels and approved power plan | Continuity, routing and clear identification of spare cables |
| Cases and accessories | Case contents, packing positions and required handling equipment | Complete inventory after assembly and after repacking |
Use the rental LED screen range to shortlist equipment for repeated assembly. Ask the supplier to demonstrate the exact connection and service operations your crew will use. Record the procedure and the practical access it requires. Product descriptions such as quick assembly should lead to a demonstration, not an assumed labor saving.
Specify spare stock by the failures you intend to recover from and the time available for replacement. An extra module does not solve a failed player, and a spare cabinet does not help if the correct configuration file is missing. Agree a supported spare list with the supplier and label each item so a technician can identify it during a show interruption.
3. Lock the pixel canvas before content production
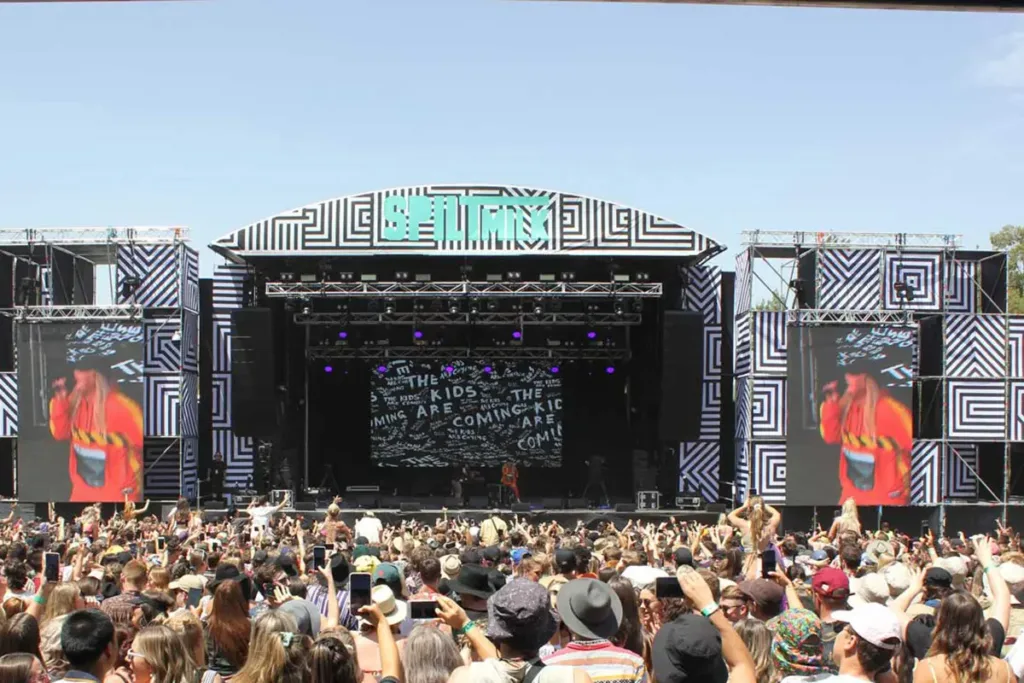
Give the content team the native width and height in pixels for each display surface. Include the physical layout, gaps and the intended source mapping. For a touring stage LED screen, the production template should identify the approved layout version, not just a familiar video format such as 1080p. The processor may scale a source, but scaling does not make a mismatched composition correct.
Use a labeled test graphic to confirm the map. It should identify the surface, show its edges and place recognizable markers at the corners. Review it on the assembled wall before commissioning finished motion content. This makes unexpected cropping, swapped outputs and incorrect orientation easier to identify than a visually complex animation.
For example, an illustrative cabinet contains 128 × 128 pixels. A wall eight cabinets wide and four high would contain 1024 × 512 pixels. That is a geometry example, not a specification for an EagerLED model. The supplier must provide the actual cabinet matrix. If the show uses that shape, stretching a conventional widescreen composition to fill it changes the artwork’s proportions.
Decide how each layout handles a change of aspect ratio. The designer may create a separate version, keep important content inside an agreed safe region or approve a deliberate crop. Document the decision. A reduced touring stage LED screen layout should not cut a sponsor name or a performer’s face because the content team never received its dimensions.
Specify the playback deliverables as well as the pixels. The media operator should confirm the supported file format, frame rate, duration, naming convention and version deadline for the actual playback system. Ask for a short sample file first. Test it through the complete path and return corrections before the creative team exports the entire show.
Keep the media manifest with the show package. List the approved filename, revision, target surface and cue. Remove superseded files from the active playback list while retaining a clearly separated archive. During rehearsal, record which version passed. This gives a replacement operator a reliable starting point when several nearly identical files exist.
4. Approve the screen through the show cameras
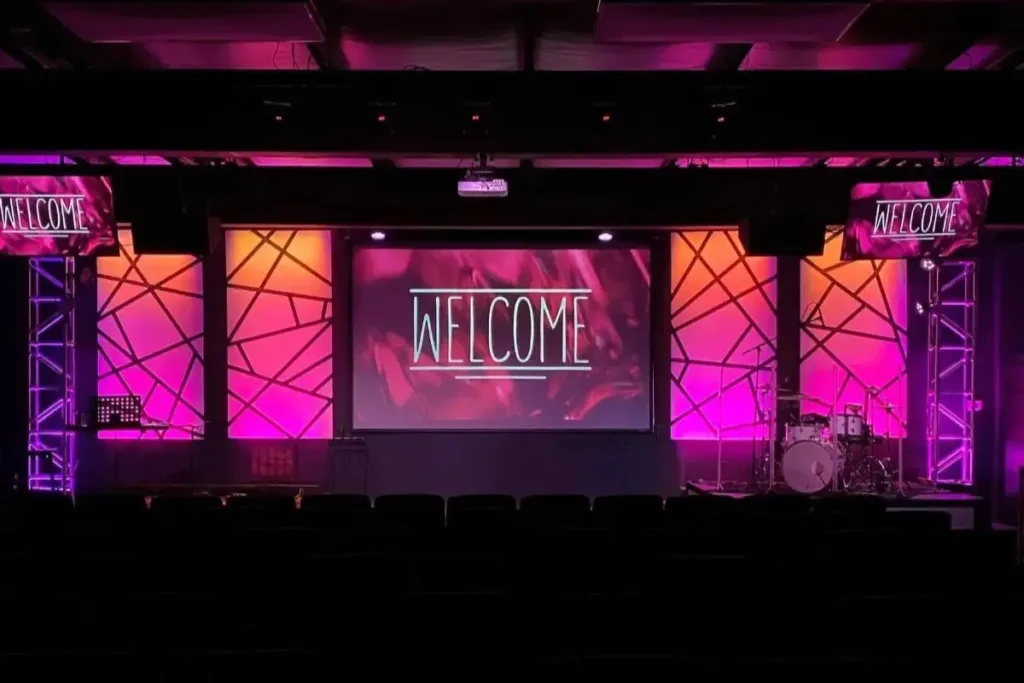
A display that looks acceptable to an observer may still need adjustment for a camera. Plan the test with the video director using the cameras, lenses, positions and recording settings expected on the tour. Review both the live output and recorded material. A supplier’s headline refresh specification alone cannot prove that a touring stage LED screen will meet every shot requirement.
Include the difficult shots in the test: a close view of a performer with the wall behind, a wide shot of the full backdrop and any moving camera position. Try representative show brightness and low-level content as well as a bright demonstration clip. Look for distracting patterns, visible bands and changes in detail or color across the intended shots.
Change one variable at a time with the responsible technician and record the accepted settings. Camera settings, framing, screen output and content all belong in the review. If a proposed configuration cannot satisfy a required shot, discuss the equipment or production change before purchase. Do not conceal the problem by demonstrating a camera angle the show will never use.
Define who can approve changes after rehearsal. The touring stage LED screen operator may adjust output for a venue, but the camera team needs to assess the effect on its images. Save the accepted baseline and document venue-specific changes separately. This avoids carrying an unexplained adjustment into the next room.
Keep a short acceptance record containing the tested layout, equipment identification, content revision and camera conditions. Attach representative reference captures where the production permits them. Record unresolved shots explicitly. The purpose is to reproduce the accepted result, not to claim universal camera compatibility from a single successful test.
5. Specify the signal route and a tested recovery path
Draw the route from each source to each screen surface. Identify the player, live camera feed, switching equipment, processor and display connections. Record the person responsible for each boundary. For a touring stage LED screen, this drawing should travel with the cases and remain understandable to a local technician who did not attend the original rehearsal.
Define what backup means for each failure. A second player addresses a different problem from an alternate signal cable or spare receiving component. Ask whether the proposed system supports the intended recovery method, what manual action it requires and what the audience sees during the change. Do not describe a package as fully redundant unless its actual design and tests support that claim.
| Failure scenario | Agreed response | Evidence to retain |
|---|---|---|
| Primary playback stops | Operator selects the approved fallback source or holding image | Observed screen behavior and the exact operator procedure |
| A signal path is unavailable | Technician uses the supported alternate route | Tested connections, mapping and remaining single points of failure |
| A cabinet or module needs service | Crew follows the supplier’s approved replacement process | Compatible spare reference and confirmation of restored image consistency |
| A configuration is lost | Authorized technician restores the approved backup | File version, storage location and successful restore record |
| A venue requires a reduced layout | Crew loads the corresponding approved map and media | Layout name, complete edge test and content approval |
Run recovery tests during an authorized rehearsal window. Agree the test method with the technicians so it does not expose people or equipment to unnecessary risk. Measure the interruption actually observed and record any manual steps. A spare device sitting in its case proves availability; a successful recovery exercise proves that the team can use it in the tested configuration.
Keep recovery files available without depending on a venue internet connection. Confirm that the authorized crew can access them and identify the current version. Store a copy according to the production company’s information practices. The touring stage LED screen documentation should include the restore sequence and the escalation contact, without putting credentials on an openly shared packing list.
6. Plan the changeover around the actual venue
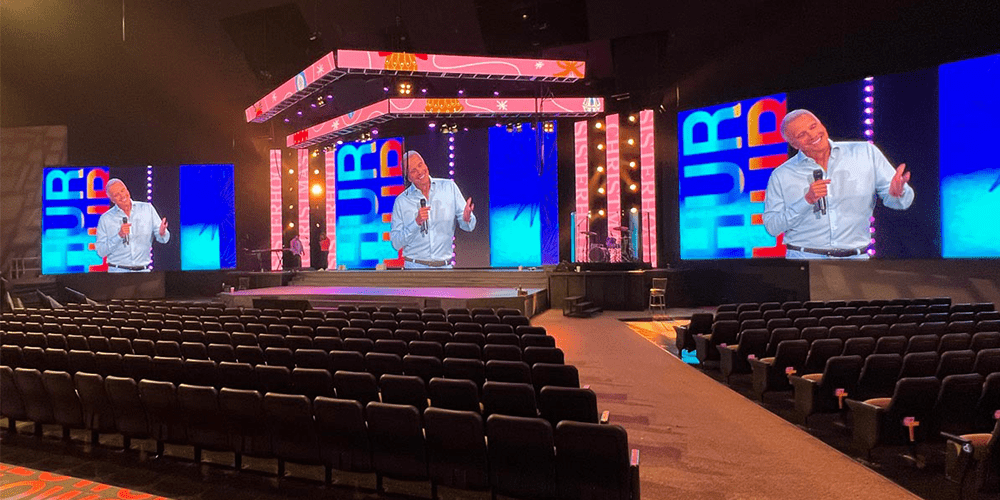
Build the load-in schedule from real tasks. Receiving, case movement, support preparation, cabinet assembly, connection checks and content testing need an agreed sequence. Identify which activities depend on another team finishing first. Ask the supplier to demonstrate the relevant handling steps and have the production manager estimate the crew requirement for the actual route.
Number cabinets and cables in a way that matches the approved drawing. Use a packing list that identifies where spare items belong. After each show, record damaged or suspect equipment before it returns to the next load-in. A touring stage LED screen should leave the warehouse with a known condition, not depend on the next crew discovering an unresolved fault.
For outdoor dates, confirm the suitability of the complete installation, including connections and support, with the responsible specialists. Establish venue-specific weather monitoring and stop-work or shutdown procedures. A product’s ingress rating does not establish wind resistance for an assembled wall. Follow the applicable equipment instructions and approved event plan.
Keep indoor and outdoor configurations distinct where the equipment or procedures differ. Record which dates require additional protection, handling equipment or inspection. If a venue cannot accept the approved arrangement, raise the issue before dispatch. A smaller or relocated wall still requires a revised drawing and content check.
7. Rehearse the package handover before dispatch
Invite the people who will assemble and operate the package to the final preparation session. Have them build the approved layout from the packing list, load its map and run the test content. Check the touring stage LED screen through the planned cameras, then carry out the agreed recovery exercises. Record problems while the supplier and production team can still resolve them together.
Deliver a compact show package: drawings, inventory, connection schedule, content manifest, accepted settings, recovery instructions and service contacts. Assign an owner for revisions. Keep a venue change log with the package, so the next crew can distinguish the approved baseline from a temporary local adjustment.
Use the broader stage screen selection page for product discussions, then ask the supplier to confirm this tour’s exact configuration. Sign off the equipment and procedures that were tested. Any later substitution should trigger a proportionate compatibility and image check before the touring stage LED screen returns to service.
Write the boundaries between suppliers into the touring stage LED screen brief. The display supplier may provide cabinets and control equipment while a separate production contractor supplies playback, cameras or support. Name the party that checks each connection between those packages. If the image is correct at the processor input but wrong on one surface, the crew needs a clear diagnostic handoff rather than a debate about who supplied the cable.
Reserve time for a complete rehearsal after any material substitution. Replacing a controller, changing a receiving configuration or accepting different cabinets can affect previously approved behavior. Ask the responsible technicians what must be checked again and record the result. Keep the original accepted configuration available until the team has approved the replacement.
Finally, inspect the package after the rehearsal has been dismantled and repacked. Compare the cases with the inventory, confirm that configuration backups open on the authorized crew computer and verify that the next venue’s layout is clearly identified. This final check catches missing accessories and outdated paperwork that an assembled demonstration cannot reveal. Assign one person to confirm dispatch readiness and list any outstanding item before the truck leaves.
Frequently asked questions
Can the same package serve different stage widths?
Potentially, if the cabinet inventory, support arrangement and control system suit each approved layout. Prepare a separate pixel map and content treatment for every version. Confirm the actual combinations with the supplier and the venue’s responsible specialists before scheduling them.
Should camera footage go on the central backdrop or side screens?
Decide with the production designer and video director. Consider sightlines, shot composition and whether the live image competes with scenic content behind performers. Give each surface a defined role and provide the operator with the corresponding source and cue plan.
Can we hire extra cabinets locally during the tour?
Ask the supplier to verify compatibility before relying on that option. Match the relevant mechanical and electronic specifications, then assess image consistency in an assembled test. Similar dimensions or pitch labels alone do not prove that two inventories can form an acceptable wall.
Does the screen need an internet connection during a performance?
That depends on the chosen playback and control workflow. Confirm which functions operate locally and which require a connection. If the show must run offline, test playback, cue control and recovery with the external connection unavailable during rehearsal.
What should be checked when a replacement operator joins?
Walk through the current layout, cue list, accepted settings and recovery procedure. Confirm access to approved files and identify who can authorize changes. Give the operator a supervised rehearsal on the actual package before assigning independent show responsibility.
Prepare a brief for your touring package
Gather the stage plans, approved layout variants, camera positions, content samples, venue conditions and changeover schedule. Add the recovery scenarios the production must support. Then contact EagerLED about your touring stage LED screen package and request a configuration, inventory and test plan against that brief.

 Transparent LED Screen Price: Comparing Window Quotes