

Virtual Production LED Wall Recommendation
A virtual production LED wall displays backgrounds for film, television or commercial shoots. Choosing one requires camera tests and integration planning, not simply a high-resolution panel. This guide explains the display, tracking, synchronization and rehearsal checks needed before committing to a stage design.
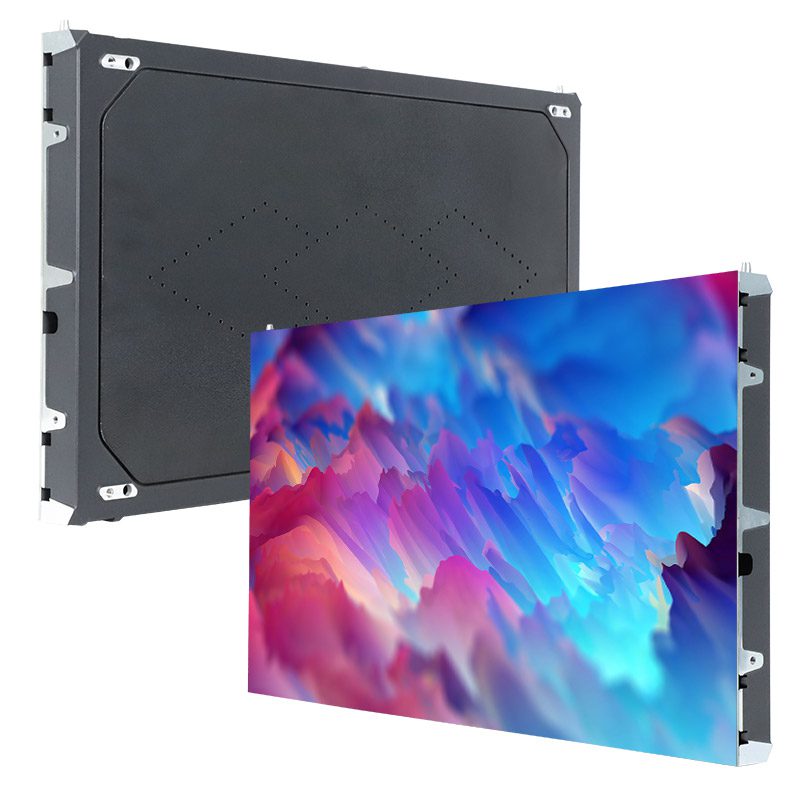
Confirm the pixel pitch, processor configuration and camera performance for the proposed wall dimensions.
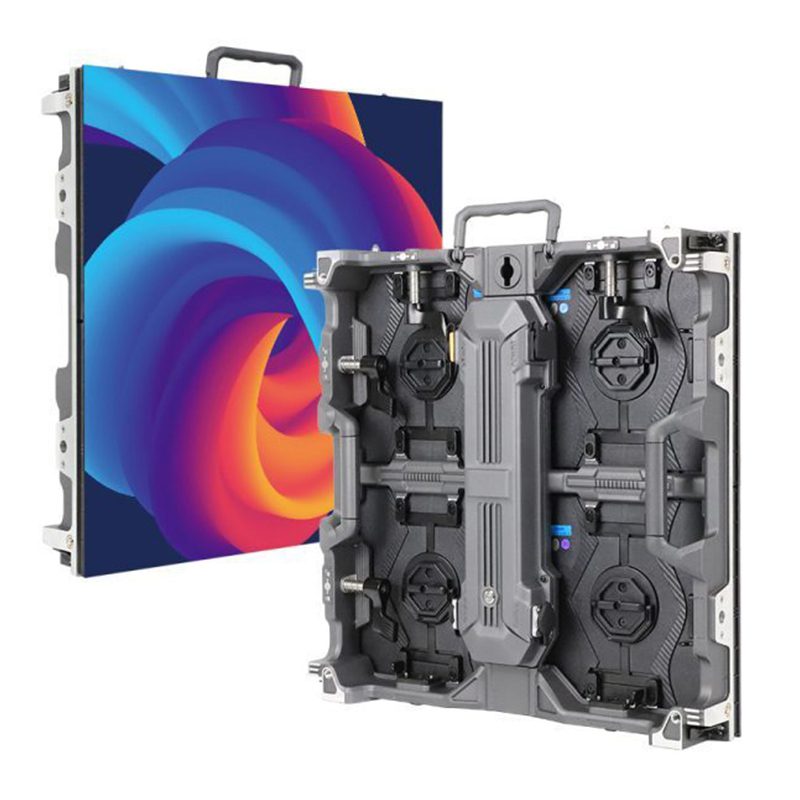
EA500H9 Rental LED Display Screen
Confirm the permitted cabinet angles, mounting system and suitability for your shooting requirements.
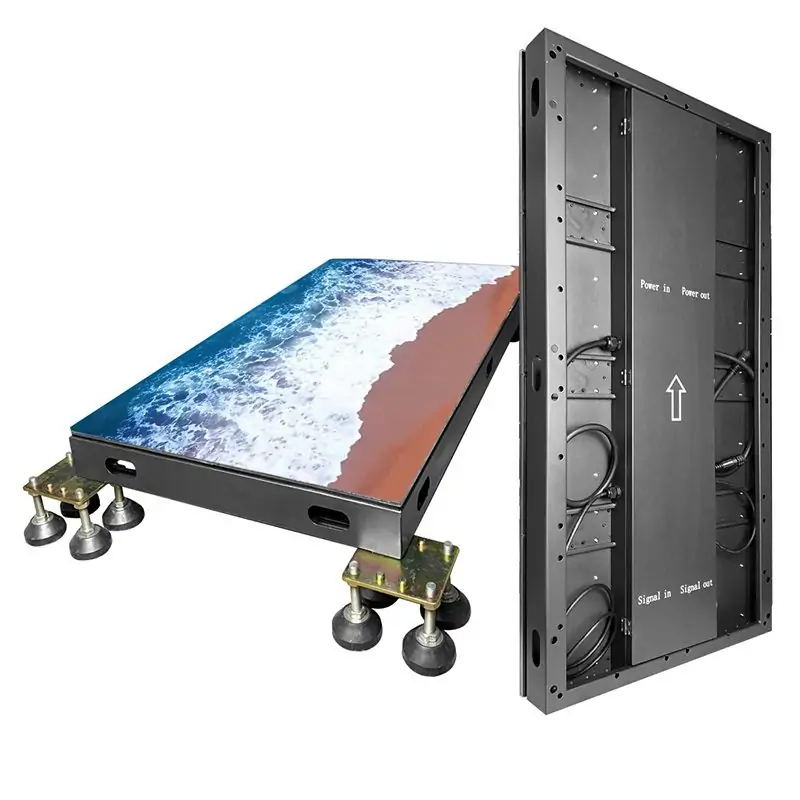
Confirm certified load limits, slip resistance, support and permitted use for the exact floor assembly.
The Best LED Display Solution for You
Virtual Production Visual References
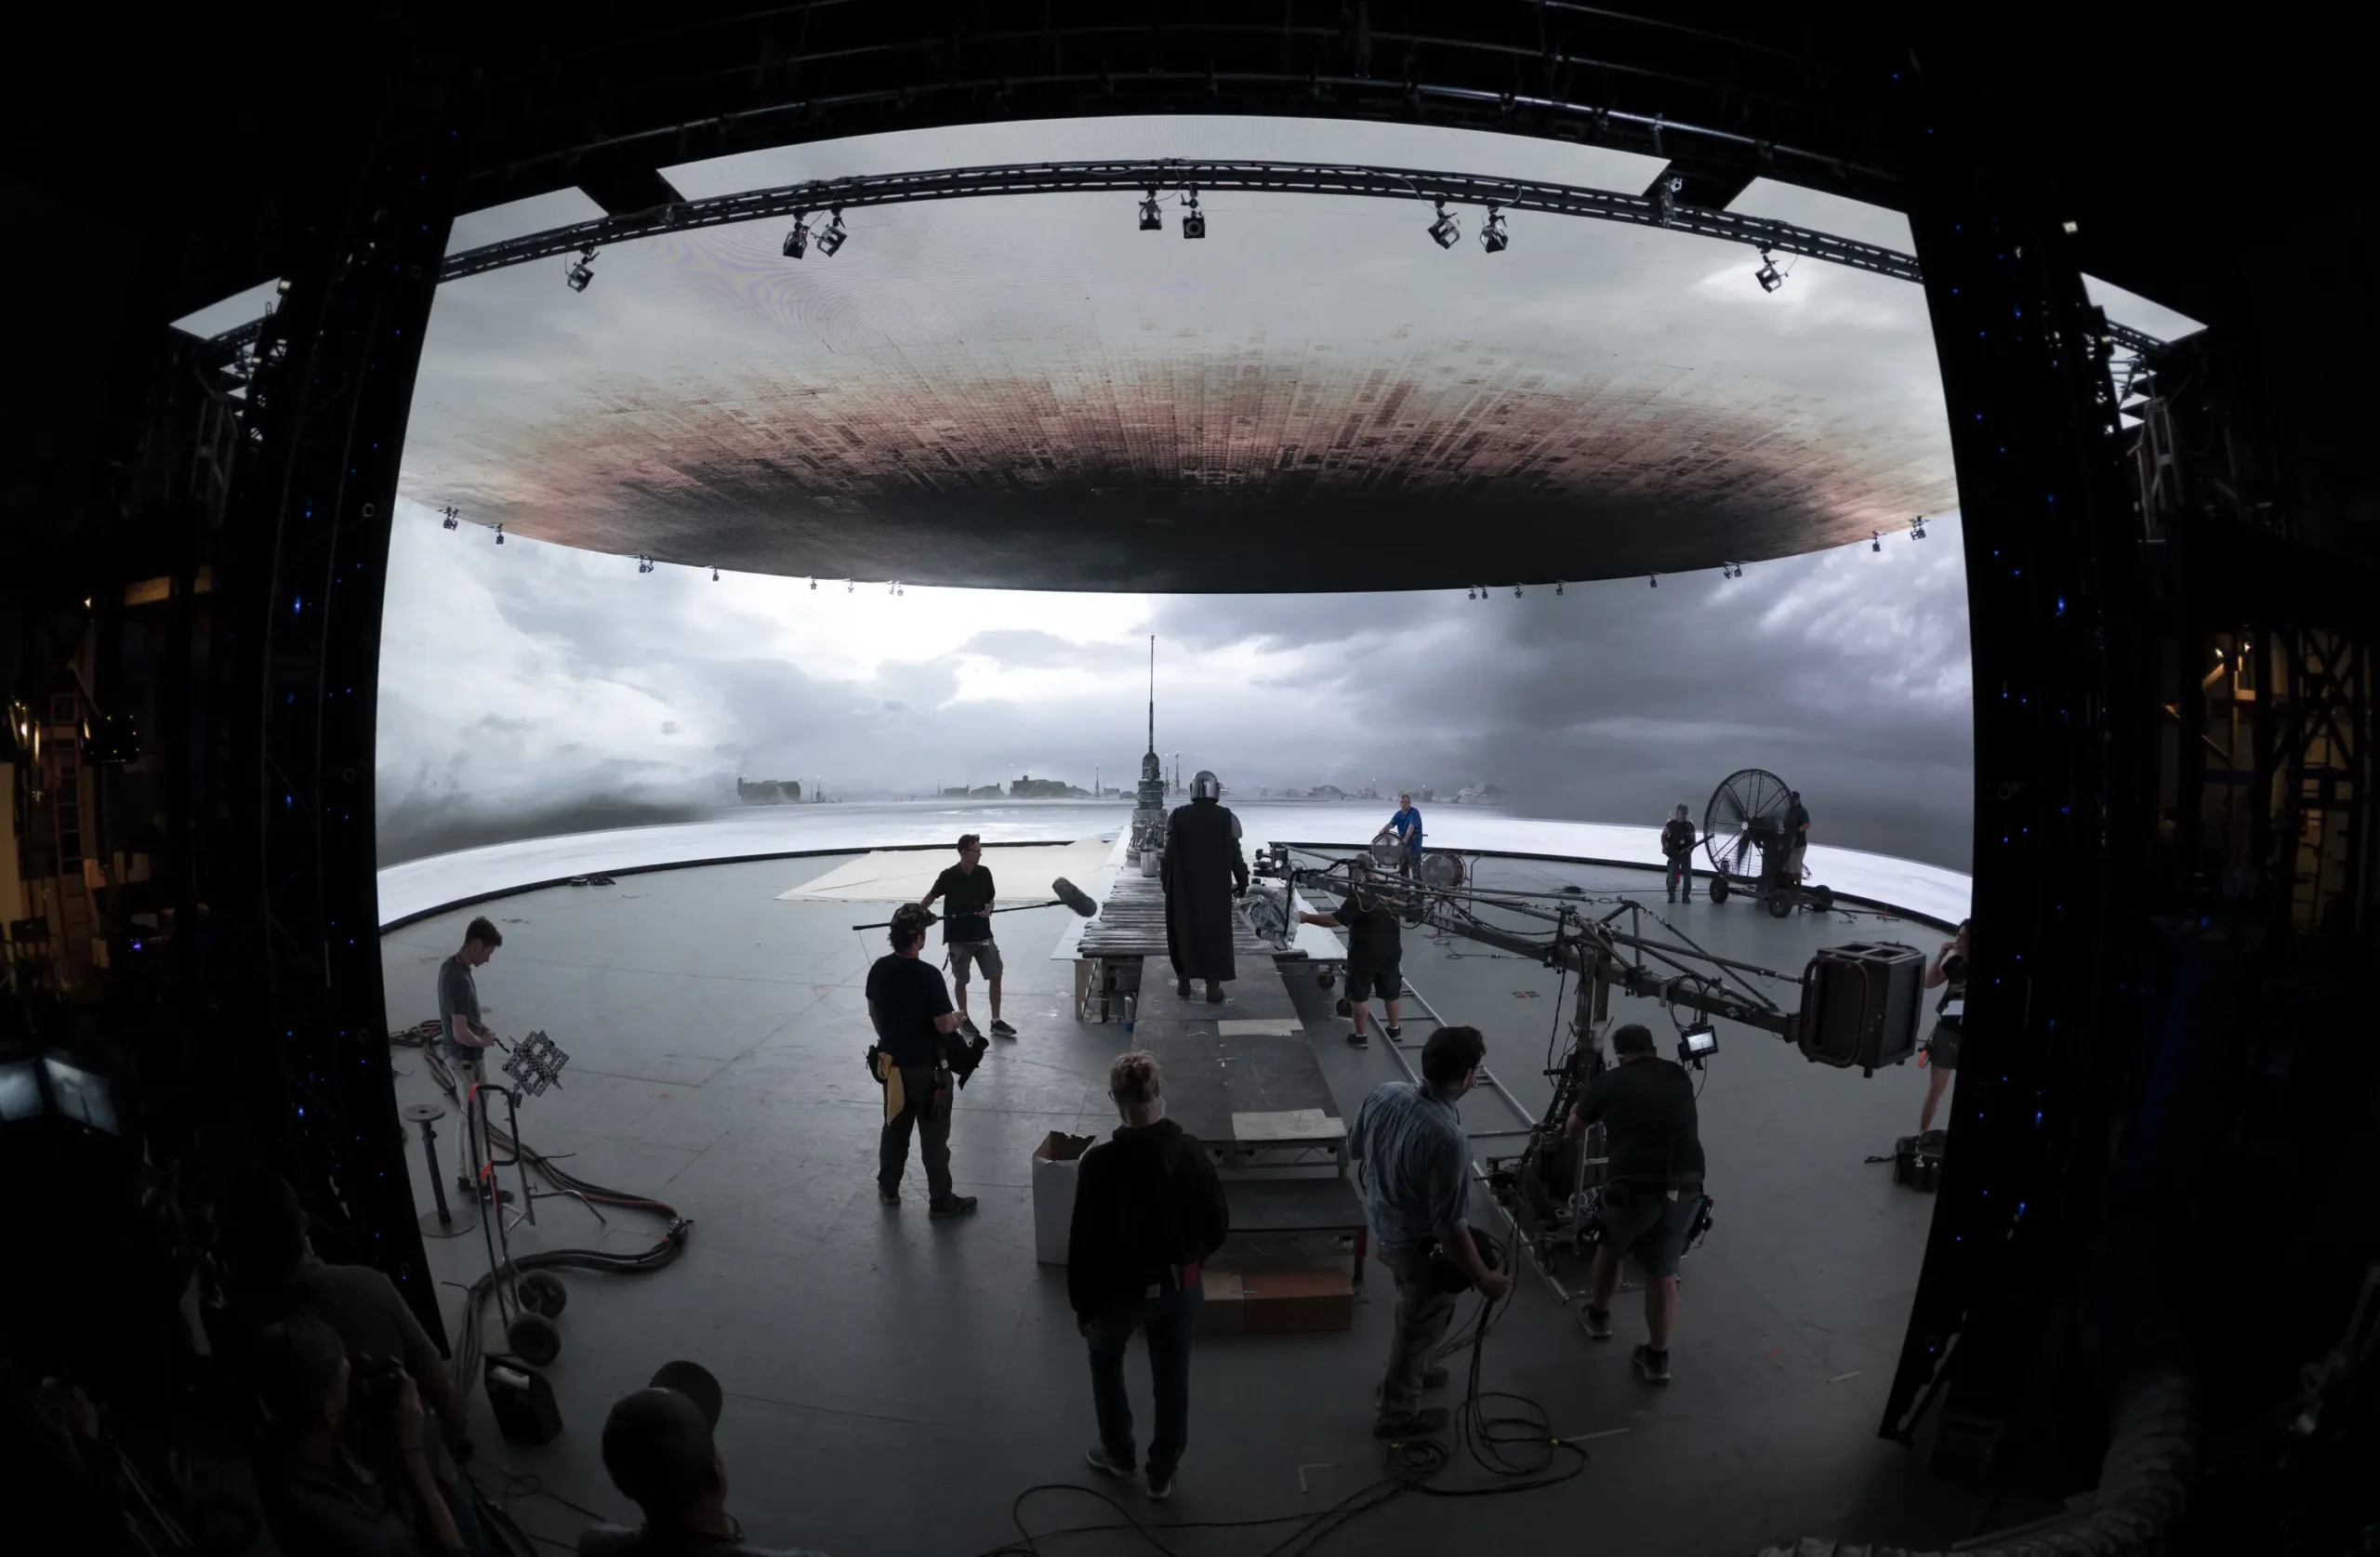
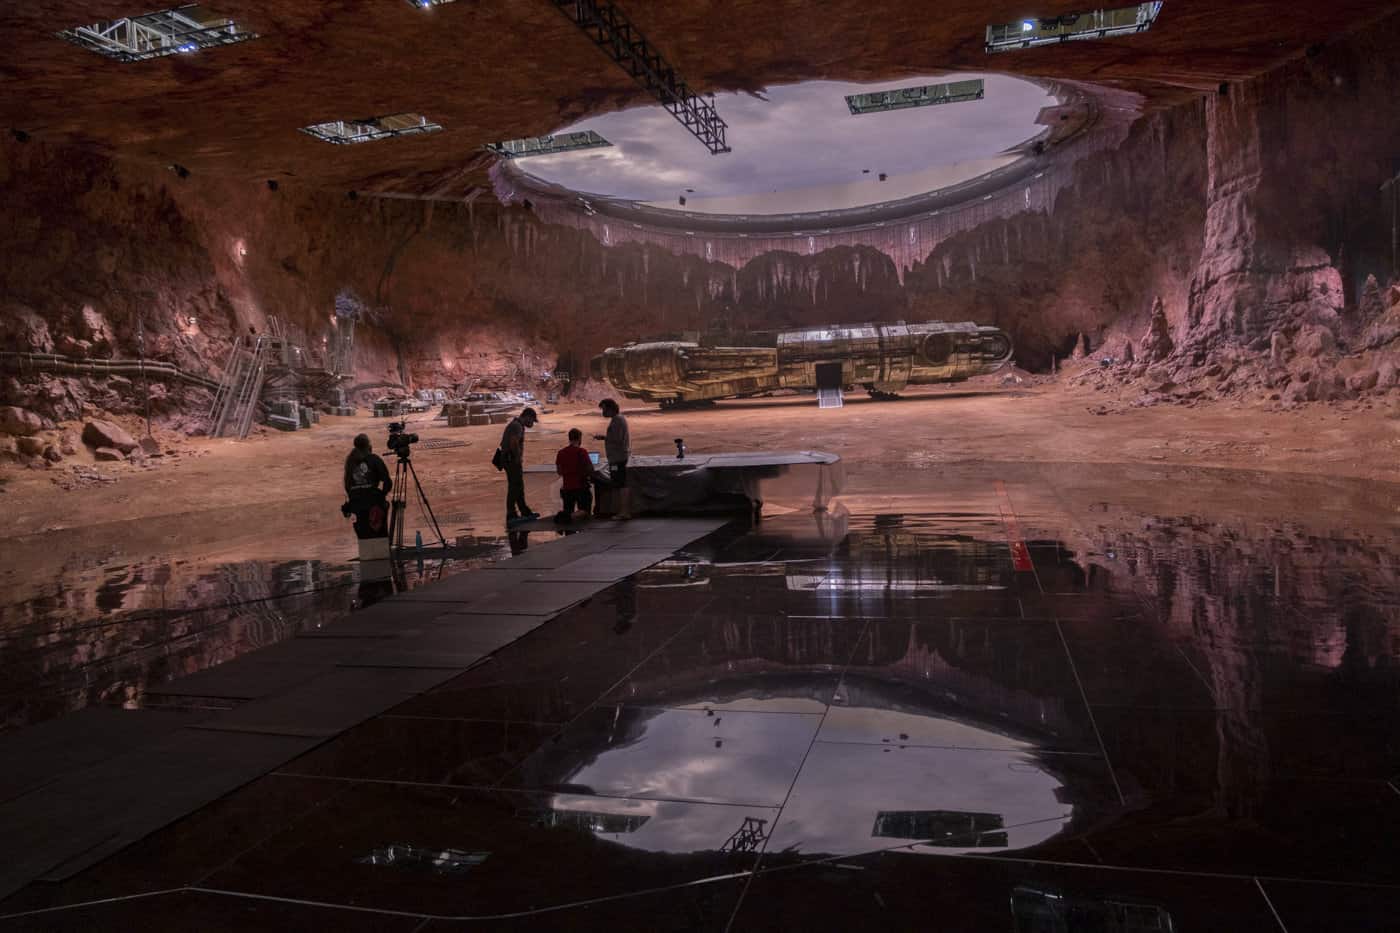
StageCraft LED Volume Reference
This existing reference image illustrates an LED volume setting. It is not presented as an EagerLED installation or proof that the products listed here were used in the production.
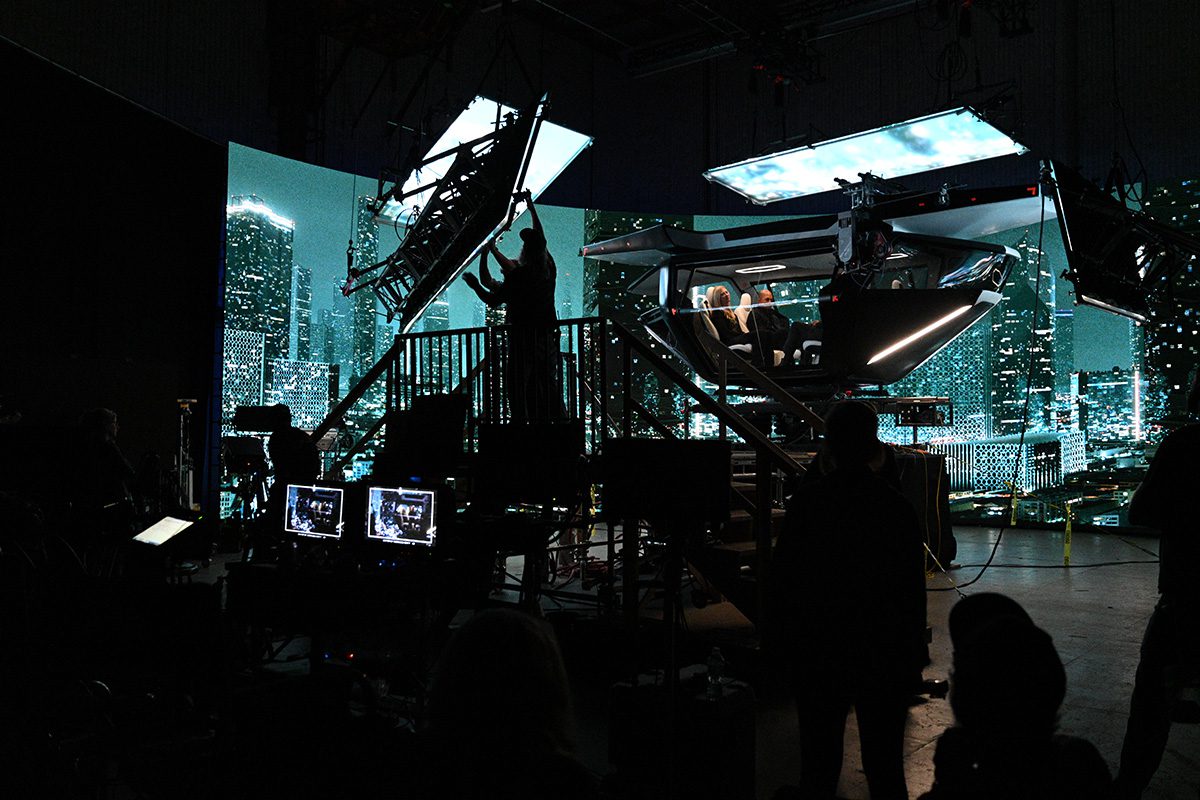
Film Production Reference
This existing Obi-Wan Kenobi reference illustrates the film-production context. No equipment supply relationship or measured production saving is claimed here.
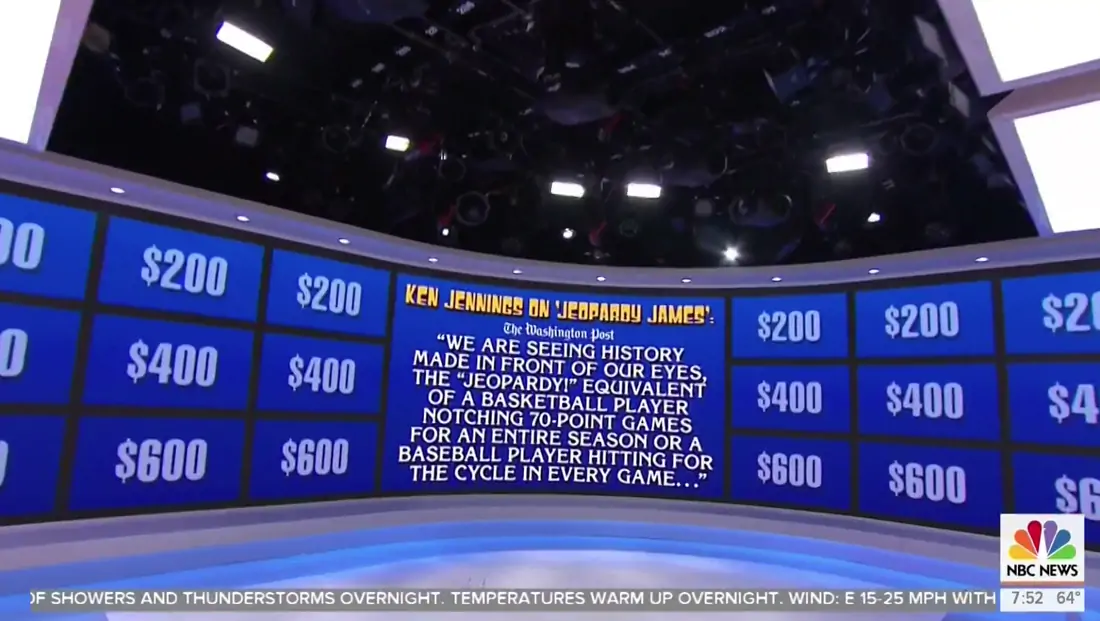
Screen-Based Set Reference
This existing Westworld reference is visual context only, not a verified customer case or a technical specification for the display products on this page.
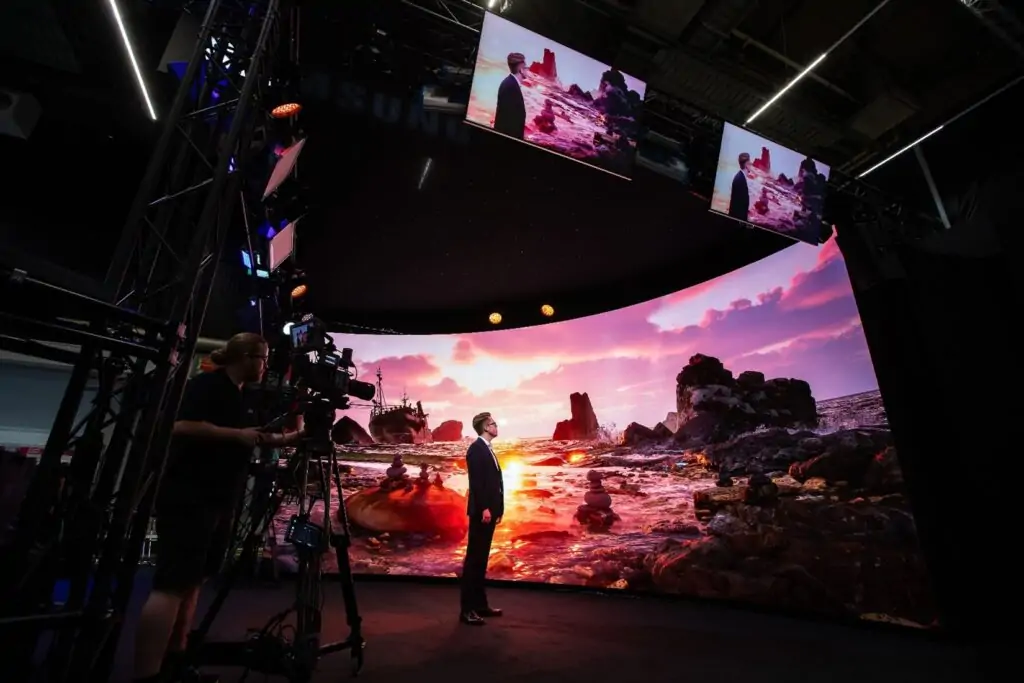
Broadcast Set Reference
A broadcast display set is not necessarily a camera-tracked LED volume. This existing Jeopardy! reference does not establish that a particular tracking or rendering workflow was used.
Discuss Your Virtual Production Requirements
Virtual Production LED Display Videos
- Review the current model datasheet and service method.
- Confirm native wall resolution rather than relying on a 4K or 8K label.
- Test grayscale, color and camera behavior at the intended settings.
- Confirm the approved assembly and curvature.
- Check the processor and receiving-card configuration.
- Validate camera synchronization in a sample test.
- Confirm model-specific bend limits and environmental rating.
- Design suitable support and maintenance access.
- Test the curved surface with the intended camera angles.
Virtual Production LED Walls: Camera Tests and Studio Planning
An LED background can provide visible scenery and reflections during a shoot. Its suitability depends on the shot list, lenses, camera movement, lighting and content pipeline. A studio wall that looks good to the eye may still show banding, moire or color mismatches on camera.
Use this guide to define a testable system brief. It compares LED and green-screen workflows, explains the signal chain and provides an acceptance checklist. Hardware selection should follow a camera test rather than a promise of automatic savings or perfect results.
Table of Contents
1. What Is a Virtual Production LED Wall?
A virtual production LED wall is a display used to show digital scenery behind or around a practical set. An LED volume may include side walls, a ceiling or floor, but these elements are not required for every shot.
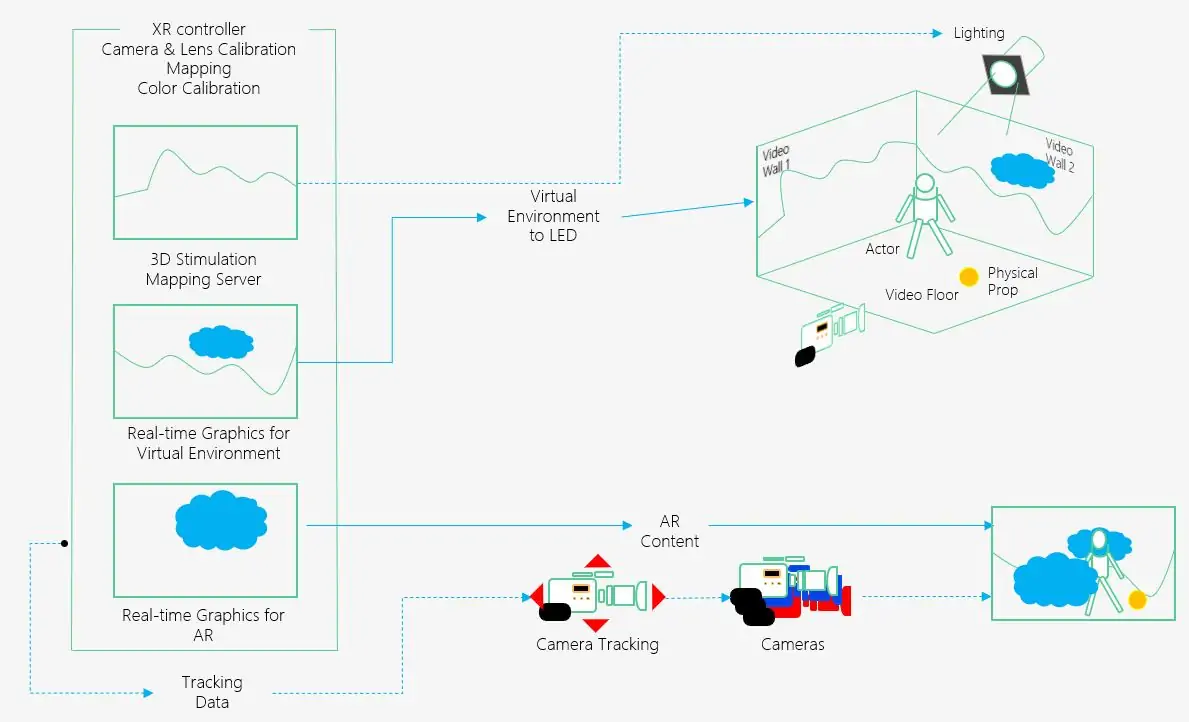
A simple background can play prerecorded material without tracking. A camera-tracked 3D workflow adds a rendering engine, tracking system and calibrated lens data so that the rendered perspective follows the camera. Processing takes time; tracking and rendering must be calibrated and tested together.
Potential benefits include visible scenery for the crew, environmental reflections and repeatable background cues. These benefits depend on preparation. Final compositing, cleanup and conventional lighting may still be necessary.
Start by distinguishing a display backdrop from an integrated in-camera VFX stage. They have different content, synchronization and staffing requirements, even when they use similar-looking LED cabinets.
2. LED Volume vs Green-Screen Workflow
Neither method is universally better. Choose shot by shot, considering reflective surfaces, camera coverage, background revisions and the production team’s capabilities. Practical locations and hybrid workflows are also valid options.
2.1 Background & Environment Creation
Green or blue screens allow backgrounds to be composited after shooting. They can support substantial later revisions, but require appropriate lighting, tracking and separation of the foreground.
An LED volume can show the intended background during photography. Camera-tracked perspective requires a calibrated system, while pre-rendered plates have their own camera-movement limits. Test whether each planned shot fits the volume.
2.2 Lighting
Chroma-screen spill and reflective objects can complicate compositing. The camera and lighting team should plan these issues rather than assuming all traditional production has the same limitations.
LED imagery contributes illumination and reflections, but its spectrum and output do not automatically reproduce natural light or correct skin tones. Use camera charts, practical fixtures and a color-managed workflow to achieve the intended result.
2.3 Preparation and Revision Planning
For LED work, assets, camera coverage and color decisions often need approval earlier. Allocate time for environment optimization, lens calibration and rehearsal before principal photography.
Some changes can be made on set, but complex assets or lighting revisions may require additional work. Compare the full workflow rather than assuming LED production always shortens post-production.
2.4 Creative Flexibility & Camera Freedom
Camera movement in a green-screen workflow depends on tracking and compositing plans. It is not inherently restricted to static shots.
In a tracked LED volume, movement must remain within the tested tracking area and usable display coverage. A perspective rendered for one camera may not match a second camera; multi-camera work needs an explicitly supported workflow.
2.5 Overall Workflow Comparison
| Check | LED volume | Green-screen workflow |
|---|---|---|
| Background changes | Assets usually prepared and tested before shooting | Background can be revised during compositing |
| Light and reflections | Wall can contribute light; camera color tests still required | Lighting and spill control planned for the composite |
| Camera coverage | Limited by display coverage and supported perspective workflow | Depends on tracking and planned compositing |
| Post-production | Cleanup and additional VFX may still be required | Keying and integration form part of the workflow |
| Acceptance | Test cameras, tracking, synchronization and recorded image | Test keys, tracking and foreground separation |
3. Selection Checks Before Choosing Panels
Evaluate the display with the intended cameras and content. The following checks turn general performance claims into observable acceptance criteria.
3.1 Pixel Pitch and Moire
Moire depends on the interaction of LED pitch, camera sensor, lens, focus, aperture and distance. A smaller pitch can help some shots but does not guarantee its removal. Test the nearest planned camera position and critical lenses. Use the pixel pitch calculator for preliminary canvas planning, not as a camera-compatibility certificate.
3.2 Brightness and Low-Level Grayscale
Judge the wall at the actual exposure and operating brightness, not only at maximum output. Check dark gradients, near-black detail and uniformity across cabinets using the intended camera settings.
3.3 Color and Reflections
Agree on the source color space, processor configuration and camera color pipeline. Shoot charts, skin tones and representative reflective props. Preserve the approved settings and calibration records.
3.4 Refresh, Scan and Camera Shutter
A high advertised refresh rate alone does not guarantee a clean recorded image. Scan behavior, processor settings and shutter timing also matter. Test all planned frame rates and shutter settings for banding or artifacts.
3.5 Volume Size and Service Access
Map the camera frustum, practical set and lighting into the proposed studio dimensions. Include service access, cooling, cable routes and approved structure loads. The LED display size guide can help organize the initial dimensions.
3.6 Support, Spares and Calibration
Confirm compatible spare modules and receiving cards, replacement procedures and how a repaired cabinet is recalibrated. A visually continuous wall requires more than mechanically aligned panels.
4. How Virtual Production LED Walls Work Technically?
The image path typically includes a playback or rendering system, video output, LED processing, receiving cards and panels. A tracked workflow also feeds camera position and lens information to the renderer. Confirm supported resolutions, bit depths and frame rates across the entire chain.
Genlock coordinates timing where supported; timecode labels positions in a recording or timeline and is not a substitute for genlock. Agree on the reference source, distribution and supported synchronization modes for cameras, rendering nodes and LED processing.
Measure tracking-to-image response and test perspective during camera movement. A synchronized signal does not automatically remove latency, moire or color errors. Save the working processor mapping, tracking calibration and color settings as part of the handover.
5. Applications Across the Film & TV Industry
Each production type places different demands on the wall. Define the real shot list and workflow before choosing a display category.
5.1 Film & High-End TV Series
For scripted scenes, test the longest planned camera moves, lenses and foreground interaction. Identify shots that still need practical sets or compositing rather than forcing every scene into the volume.
5.2 Television Studios & Broadcast
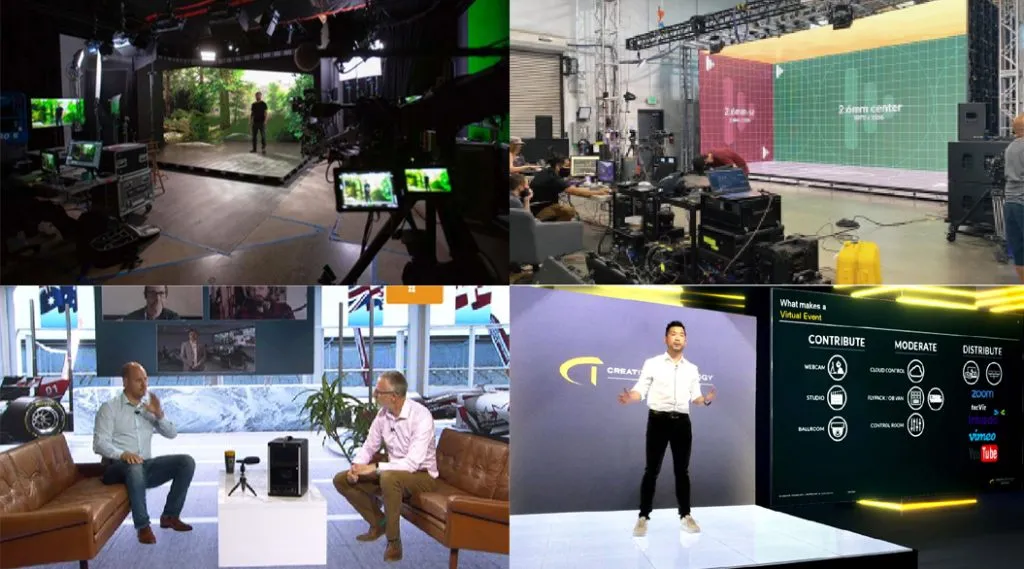
For broadcast, verify camera matching, frame synchronization, cue control and backup playback. A studio background may use ordinary playback without a tracked 3D environment; specify which workflow is actually required.
5.3 Commercials & Advertising Shoots
For automotive or product work, inspect reflections and color on the real surfaces. Check display coverage outside the camera frame where it contributes visible reflections, and rehearse the lighting cues.
5.4 Independent Productions & Streaming Content
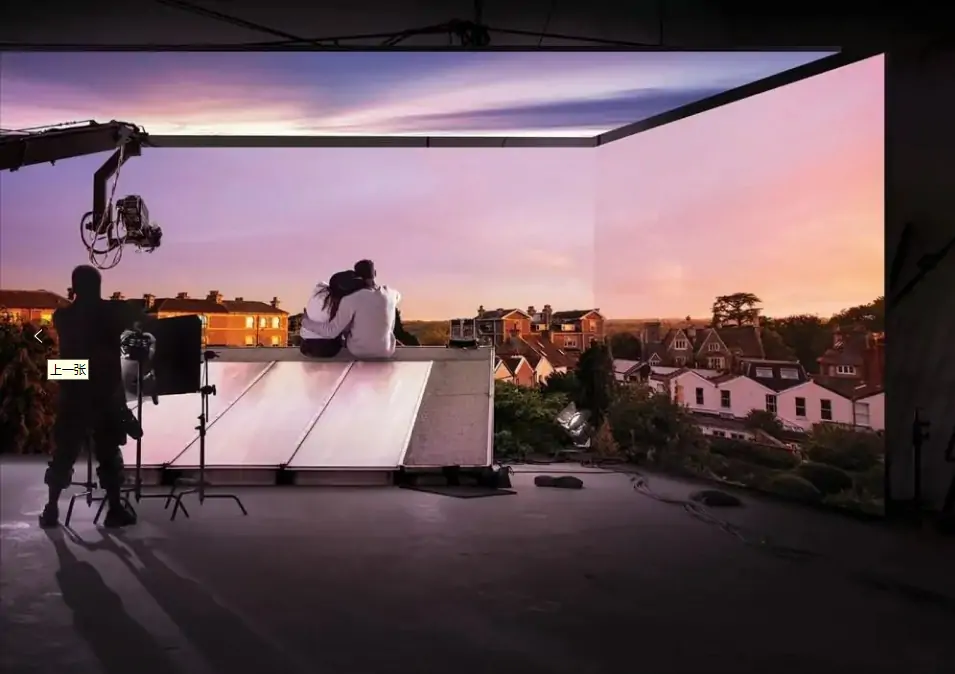
For a smaller production, test a limited background configuration before building a full volume. Keep the shot list within the tested camera and display coverage, and assign responsibility for playback, tracking and troubleshooting.
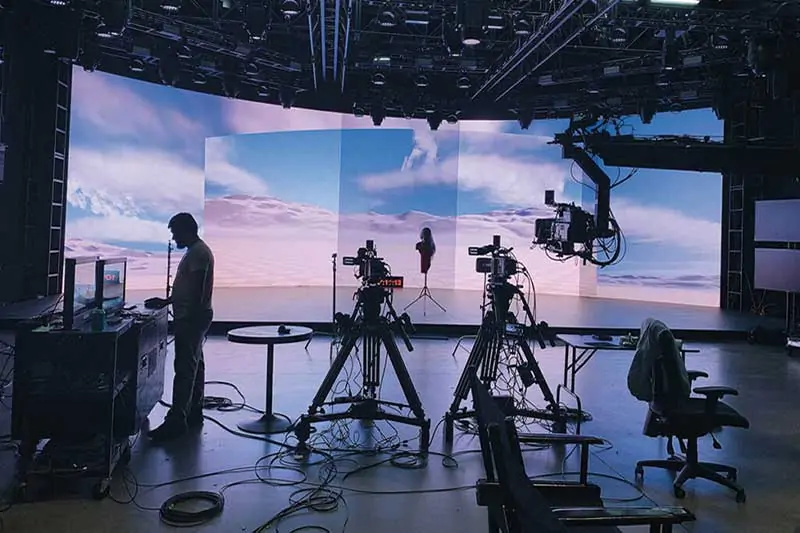
General indoor LED screens and rental cabinets are starting points for a hardware discussion, not proof of virtual-production suitability. Request a camera test for the proposed configuration.
6. Pre-Shoot Acceptance and Handover
Before assembly: approve the studio layout, engineered supports, electrical plan, ventilation and service access. Confirm the panel batch, processor, tracking equipment, lenses and software versions. Keep a written list of supported operating settings.
During the test shoot: check native-resolution mapping, grayscale, color, camera banding and moire. Rehearse tracking at the edges of the usable volume and test intended camera moves, frame rates, shutter settings and multi-camera requirements. Record issues with the exact settings needed to reproduce them.
Before handover: test backup playback and recovery from source or tracking loss. Export configuration backups, label connections and document who can restore the system. Retain approved test clips and a maintenance plan. See the installation planning guide for additional site-preparation considerations.
7. FAQs
8. Conclusion
Select a virtual production wall by proving the complete camera and display workflow. A documented test, approved engineering plan and recoverable configuration are more useful than a resolution label or a promise of effortless results.